Hey Friends! I don’t know about you, but I am ready for the weather to break and fall to settle onto all of us. However, I find that I am also not quite ready to let go of some of my favorite summer crafting ideas. I figured before embrace all things pumpkin, I would go ahead and craft one last summer Blossom while I can.
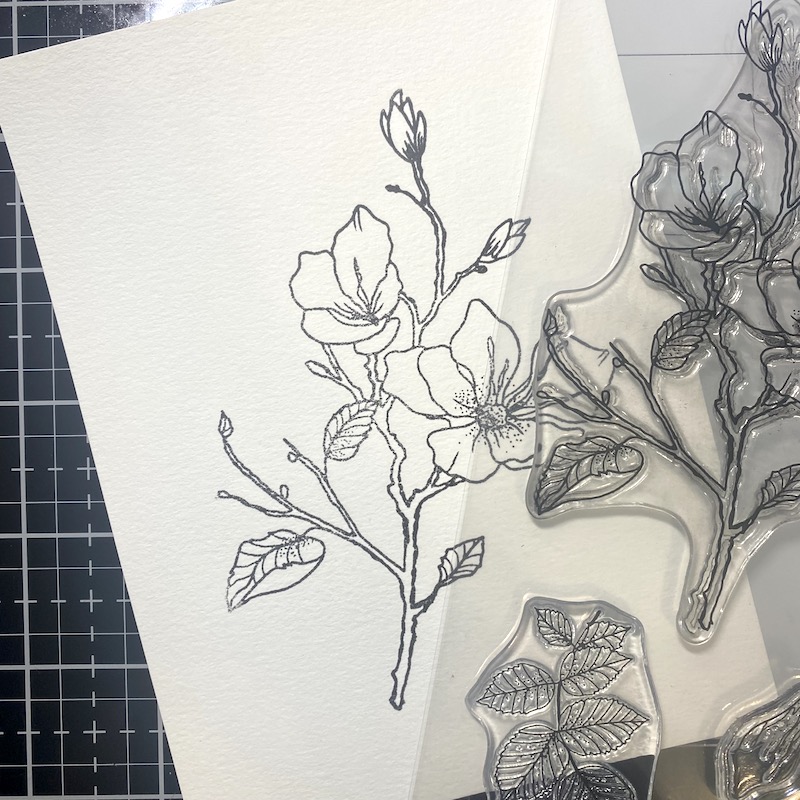
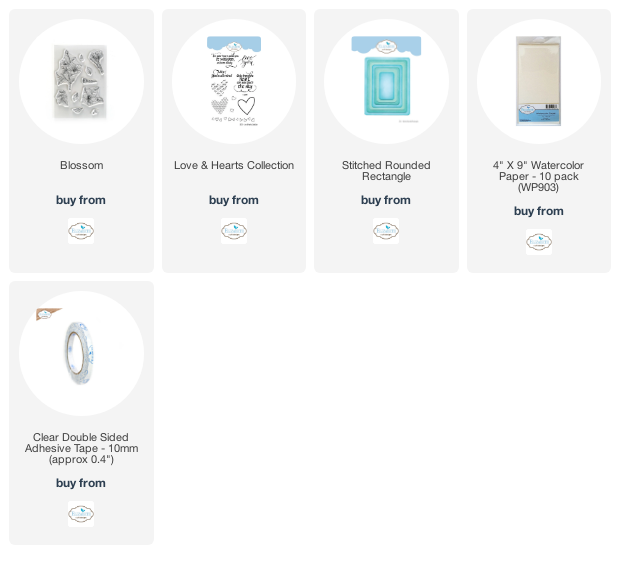
Step One: On a piece of trimmed Watercolor Paper, stamp the floral image from the Beautiful Blooms Blossom stamp set in waterproof ink.

Step Two: Using the Stitched Rounded Rectangle die set, die cut the watercolor paper.

Step Three: Using a watercolor marker, out line the stamped image and push the color out with a water brush. I used Leaf Green Zig Clean Color Real Brush Marker.

Step Four: Using more clean water, push the color out even further till it almost blends completely out.
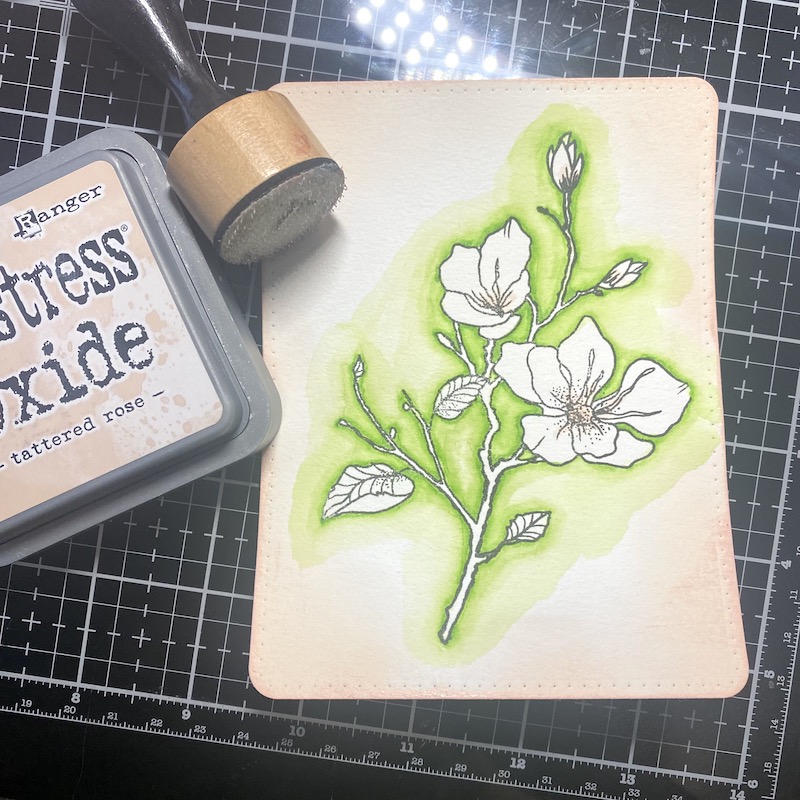
Step Six: Blend ink around the edges of the cardstock. I used Tattered Rose Distress Oxide.
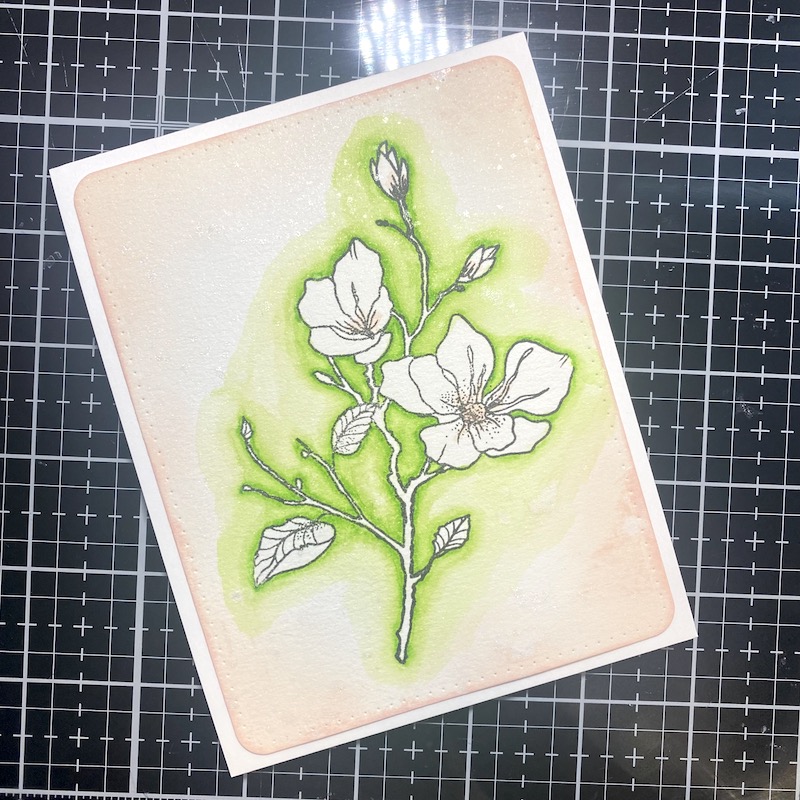
Step Seven: Spray and splatter the watercolor paper with a shimmer spray. I used Shimmer Craft Spray in Frost. Using 10mm Clear Double Sided Adhesive, adhere the cardstock to an A2 card frame.

Step Eight: Add a sentiment to the card frame. I used one from the Love & Hearts stamp set (this set is on huge clearance right now, so pick it up before it is gone).
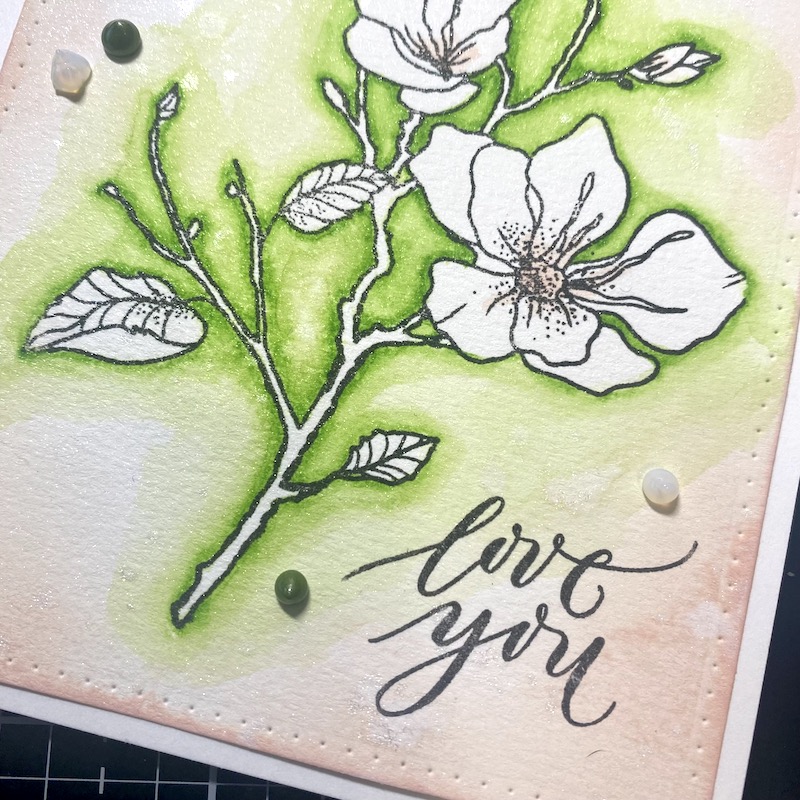
Step Nine: Add some Craft Drops to finish the project. I used both Transparent Crystal and Pearl Olive Craft Drops.
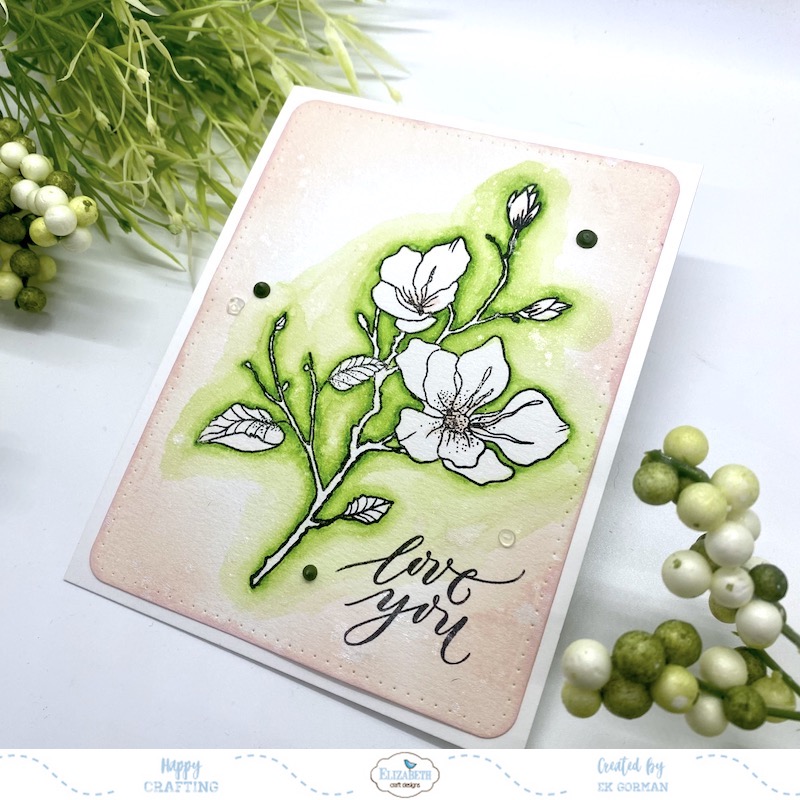
I love how this one came out. I am now starting to think about how to use this gorgeous stamp set for the winter crafting season. How would you use this set? Let me know in the comments below. Until then, happy crafting.