
 Hey friends. I am sneaking into today not only to share a collection of thank you cards I created, but sharing how to reuse some of your holiday critters in a new way. I find after the holidays I am always in need of a plethora of thank you notes that are a bit more whimsical than your everyday one, and I thought these cute die cut critters from Elizabeth Craft Designs would be perfect to capture that since of playfulness.
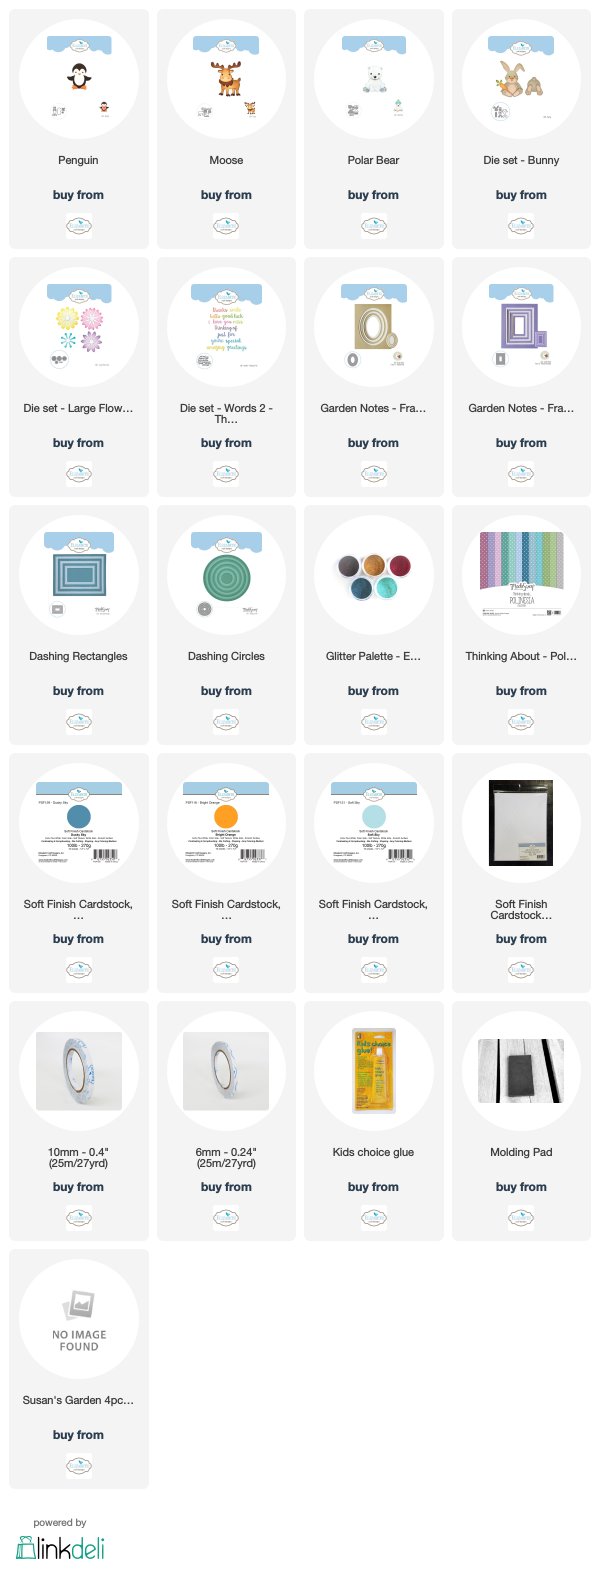
 Step One: Die cut the Moose die set out of 85lb White Soft Finish Cardstock.
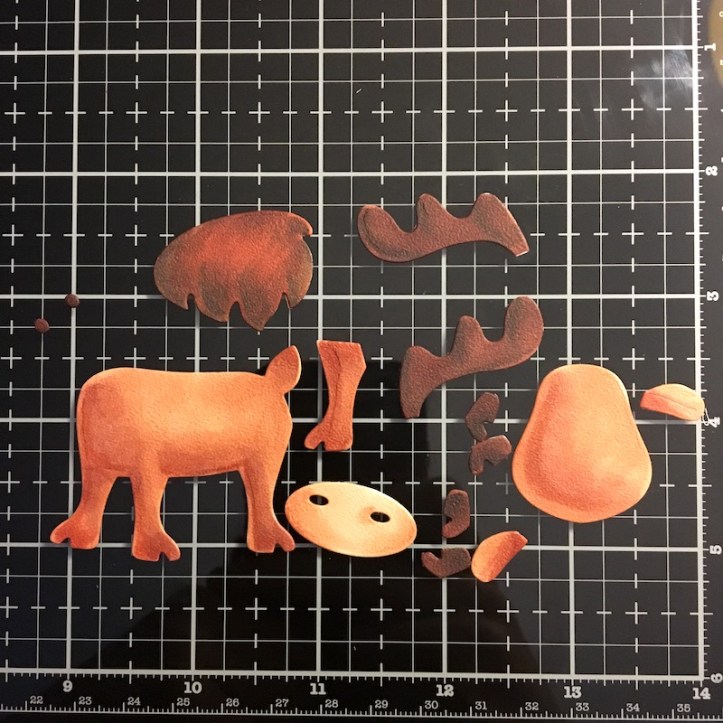 Step Two: Color the pieces using alcohol markers. I used E11, E13, E15, E17, E19, E18, E77 and E79 copics.
 Step Three: Assemble the moose using Kid’s Choice Glue.
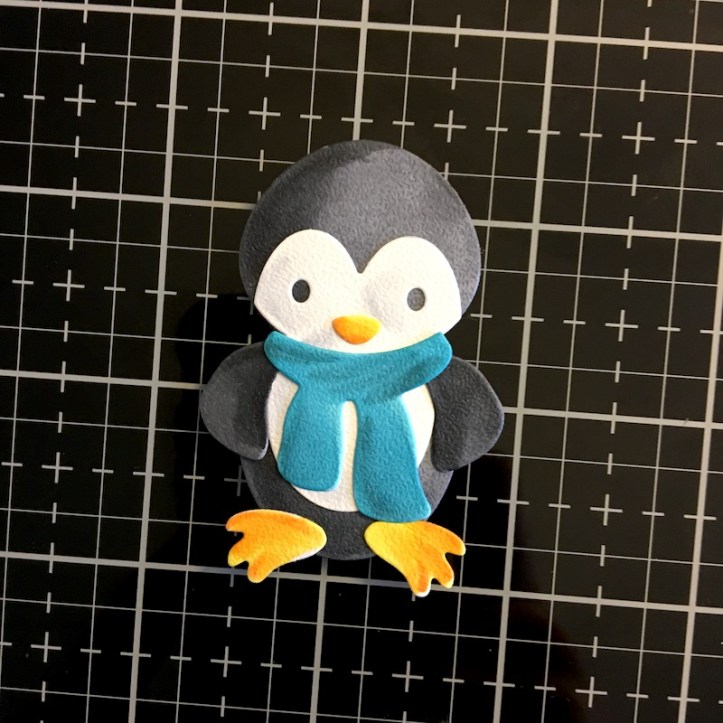 Step Four: Repeat steps 1-3 with the Penguin die set. I used C00, C1, C3, C5, C7, Y13, Y17, YR04 copic markers for the penguin and BG05, BG07, and BG09 for the scarf.
 Step Five: Repeat steps 1-3 with the Polar Bear die set. I turned the polar bear into a brown bear using E21, E23, E25, E27 and E29 copics. The hat was was colored with YR02, YR04, YR09 for the orange and BG05, BG07, and BG09 for the teal.
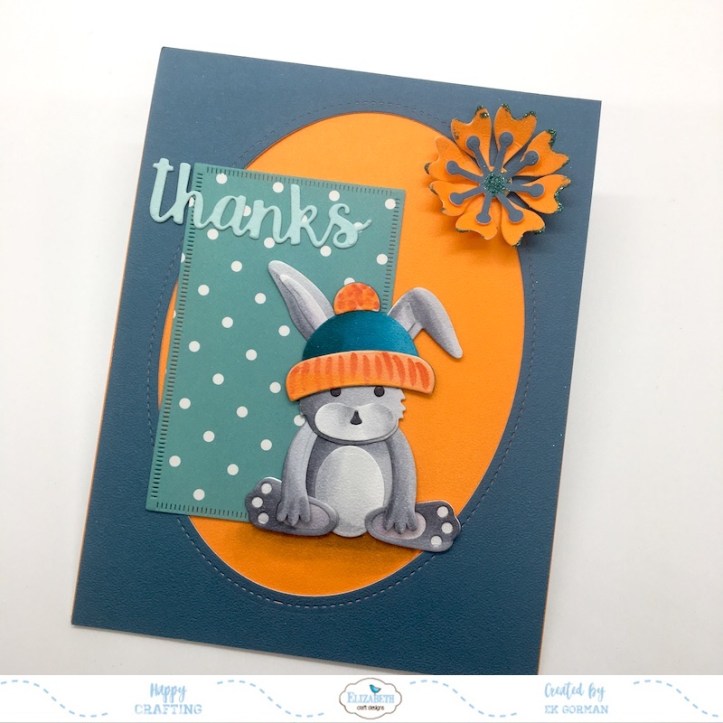
 Step Six: Repeat steps 1-3 with the Bunny die set, adding the stocking hat from the Polar Bear die set. The bunny was colored with C00, C1, C3, and C5. The hat was colored with the same markers as the polar bear.
 Step Seven: Trim four pieces of Dusky Sky and Bright Orange Soft Finish Cardstock to 4.25×5.5 inches. Two of each color will be the base to each card and two will be die cut to be a frame for each card.
 Step Eight: Die cut an orange and a blue piece of paper with the Frame It/Stitched Square die and one more of each with the Frame It/Stitched Oval Die.
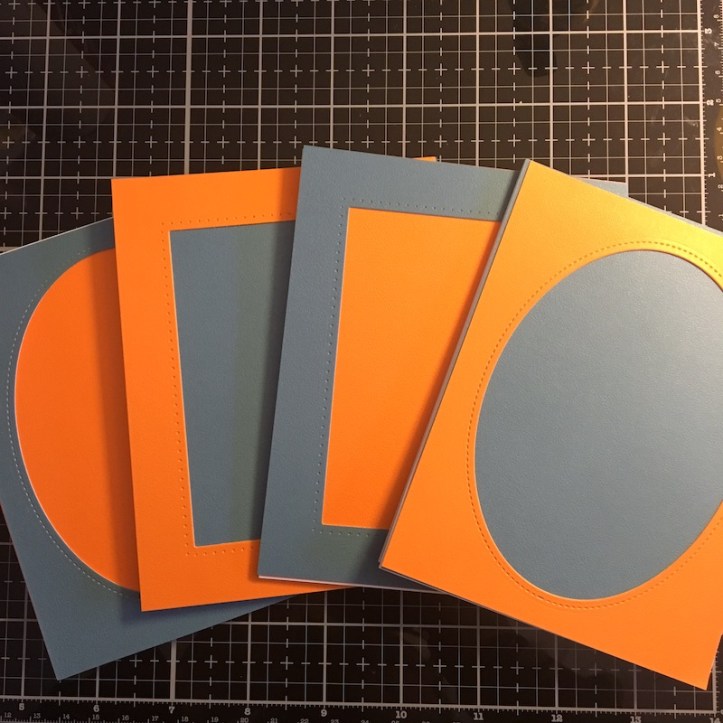 Step Nine: Adhere the four bases to four A2 cards using 10mm Clear Double Sided Adhesive. Adhere the frames to the bases using the 10mm Clear Double Sided Adhesive alternating colors.
 Step Ten: Die cut two rectangels from the Dashing Rectangle die set and two Circles Dashing Circle die set from the Thinking About printed paper in Polinesia.
 Step Eleven: Die cut the sentiment from the Words 2- Thinking of you die set on Soft Sky Soft Finish Cardstock.
 Step Twelve: Add the printed paper and die cut critters to the cards using 6mm Double Sided Adhesive. Add the sentiment using Kid’s Choice Glue.
It was here that I realized that I needed a little something more to finish these cards.
 Step Thirteen: Die cut some winter flowers from the Large Flower Set die set from the left over Bright Orange and Dusky Sky Soft Finish cardstock.
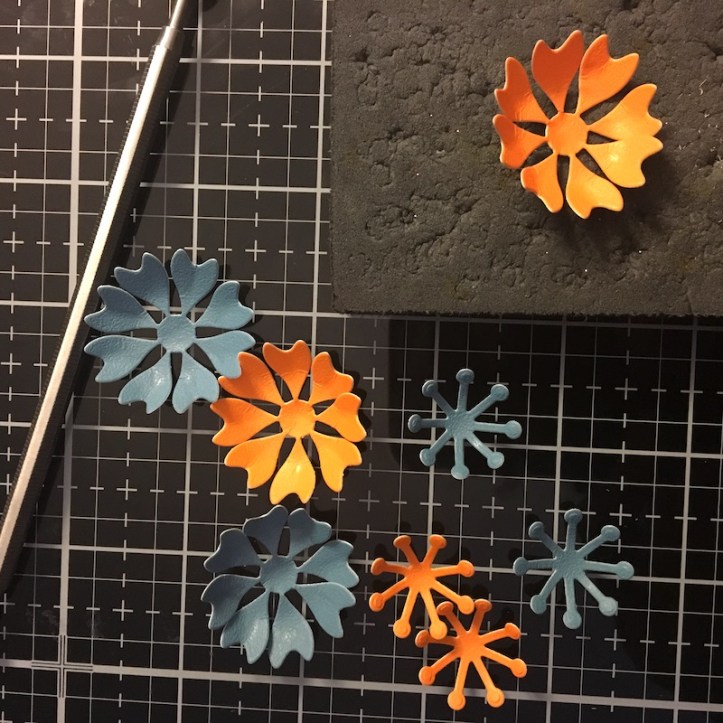 Step Fourteen: Shape the flowers using the molding pad and large stylist from the 4pc all metal die set. Adhere the flowers together using Kid’s Choice Glue.
 Step Fifteen: Die the edges of the large petals into the kid’s choice glue, then dip the petals into Ice Teal Microfine Glitter from the Earth Microfine Glitter Palette. Add a dollop of glue to the middle of the flower and add more Ice Teal glitter. Adhere the flowers to the card frames.


I just love how the collection came out. I feel like these are perfect cards for my children to send to someone they need to thank, without being too stuck in one season or another. Yes they are slightly winter in nature, but the bold colors make the card feel a little less cold and seasonal. I will admit, that I did touch the bottom of each critter with a bit of N0, N2, and N4 copic marker to create a bit of shadow under them.
Scroll down for a better look at each of the individual cards.


Thanks for coming in today. Make sure you stay tuned because new releases are on the horizon. I can not wait to share with you the new stuff coming out…so keep peeking in to see what is new!

These are so cute!!! Good way to use your dies all year round!!!! Thank you so much!!!
LikeLike