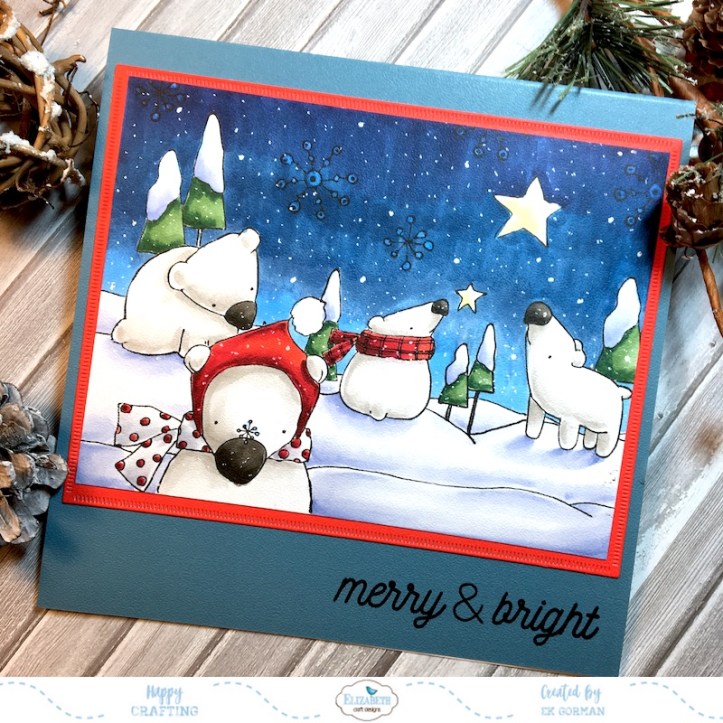
 Hey Everyone! As we get closer to halloween, I keep seeing more and more Christmas stuff out in the stores, and I am going to admit it…I’m not ready. However, with halloween just around the corner, I will admit, that I am ready to move away from pumpkin spice and start focusing in on cool winters, so today I thought I would color up this fun winter scene featuring Elizabeth Craft Designs Winter Bear stamp set.
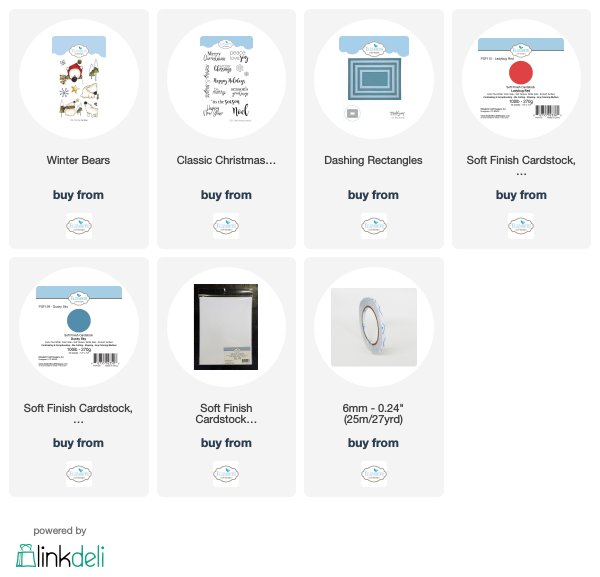
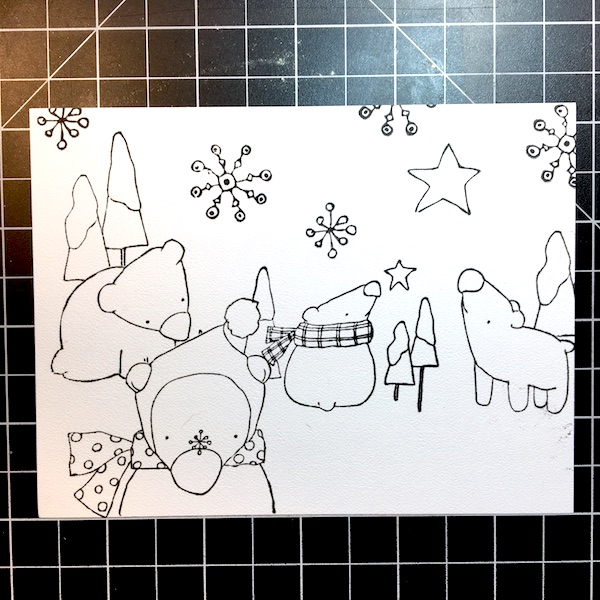 Step One: Stamp out the images from the Winter Bear stamp set using copic friendly ink, masking where needed on some 85lb White Soft Finish Cardstock trimmed to 5.5×4.25 inches. I used most of the stamps in the set to create this scene.
 Step Two: Using a copic friendly pen, draw in three layers of snow banks to ground the scene.
Step Three: Color the scene in with your alcohol markers. I used my copics and filmed my coloring today for you to peek at. For HD click here:
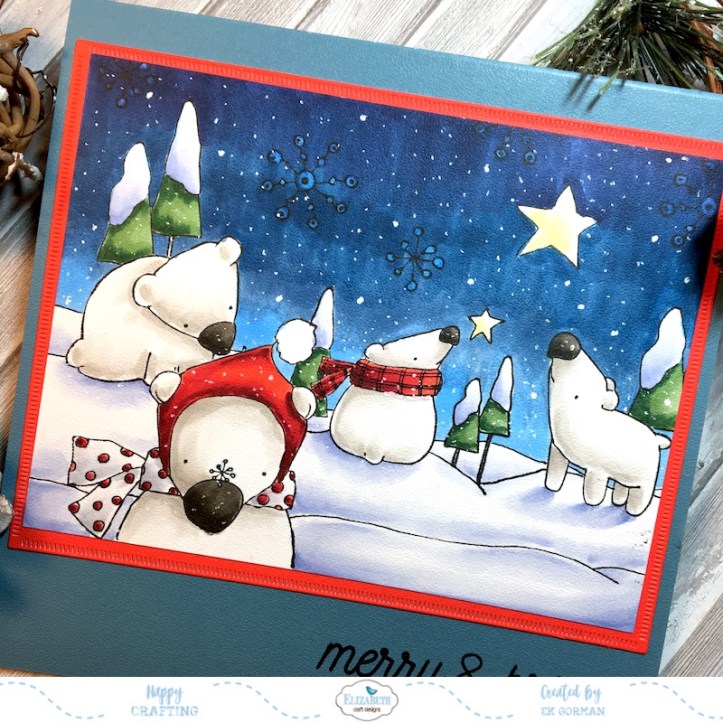 Step Four: Die cut a piece of Ladybug Red Soft Finish Cardstock with the largest Dashing Rectangle die. Adhere the colored scene to the die cut piece.
Step Five: Trim a piece of Dusky Sky Soft Finish Cardstock to 12×6 inches and score and fold the paper to create a 6×6 inch card frame. Adhere the die cut red cardstock to the card frame using 6mm Clear Double Sided Adhesive.
Step Six: Stamp the sentiment onto the card frame. I used a stamp from the Classic Christmas Sentiments stamp set.
 Thanks for peeking in today at my winter scene. Are you ready to be creating winter projects in full force? I guess begrudgingly I am. So I guess I am to say, happy winter crafting.