
 Have you seen the new line of dies and stamps released by Elizabeth Craft Designs. The line is perfect for your all your holiday cuteness. Today I am sharing a couple of dies in this holiday card.
 Step One: Die cut out the parts from the Penguin Die in 85lb White Soft Finish Cardstock and his scarf in red striped paper from the Relax in the Garden paper pack.


Step Two: Using Black Soot Distress Ink, pounce the penguin body, eyes and wings.
Step Three: Distress the edges of the white belly piece with Old Paper Distress Ink.


Step Four: Very lightly add some Stormy Sky to the snow flake die cut, letting stay mostly white with hints of blue.
Step Five: Pounce on Rusty Hinge Distress Ink to the feet and beak.


Step Six: Distress the edges of the scarf with Aged Mahogany Distress Ink.
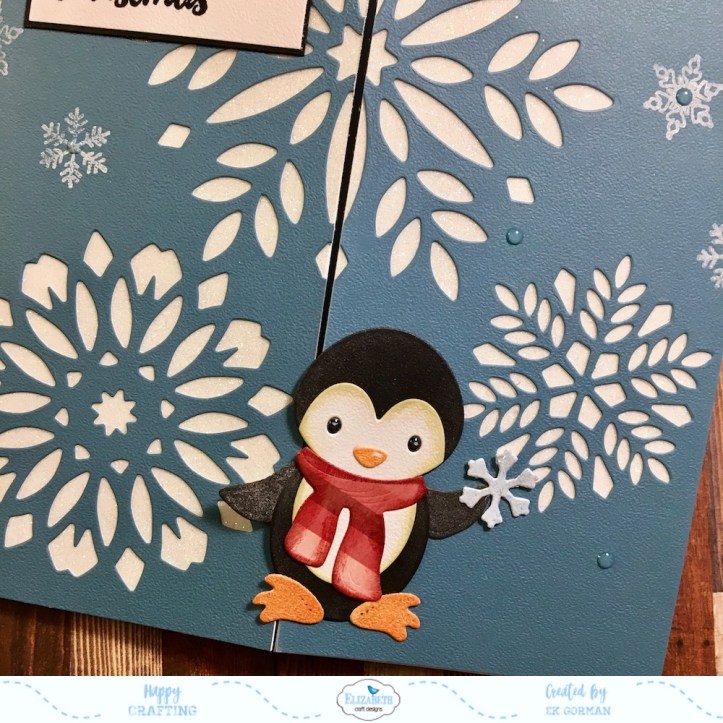
Step Seven: Using Kids Choice Glue, assemble the penguin parts. Add a hint of reflection to the eyes and the beak with a white gel pen.


Step Eight: Create a center folding card from a sheet of 12×6 inch Dusky Sky Soft Finish Cardstock. Score the lines at 3 inches and 9 inches to create the center fold.
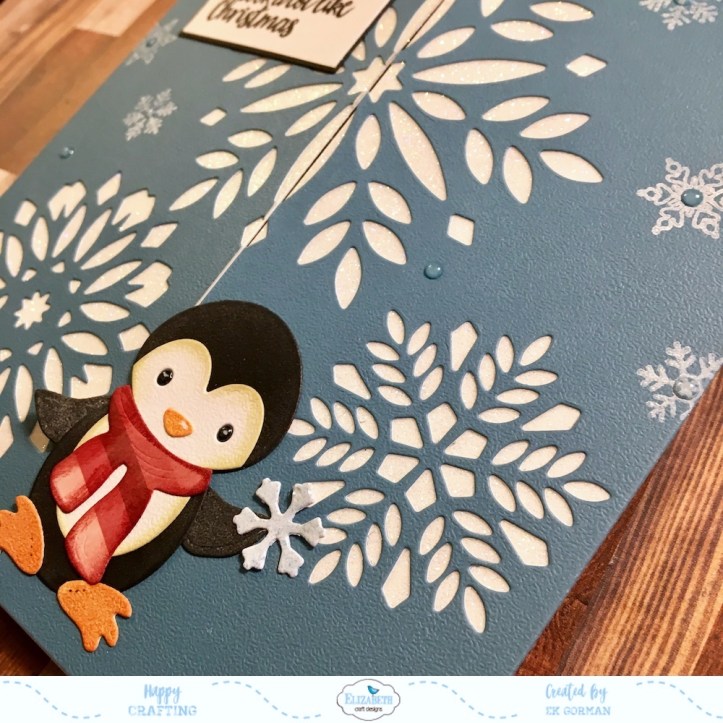
Step Nine: Die cut three snowflakes into the top flaps of the card using the new Snowflakes die set.


Step Ten: Add a panel of Clear Double Sided Adhesive to the back (white side) of two 6×3 inch Dusky Sky Soft Finish Card stock panel. Adhere the panel to the inside of each flap, allowing the sticky adhesive to show though the die cuts of the snow flakes.
Step Eleven: Add Cool Diamond Silk Micro Fine Glitter to the double side adhesive exposed through the snowflake die cuts.


Step Twelve: Using 6mm clear double sided adhesive, adhere the penguin to the card, letting him over lap the middle seem of the card.
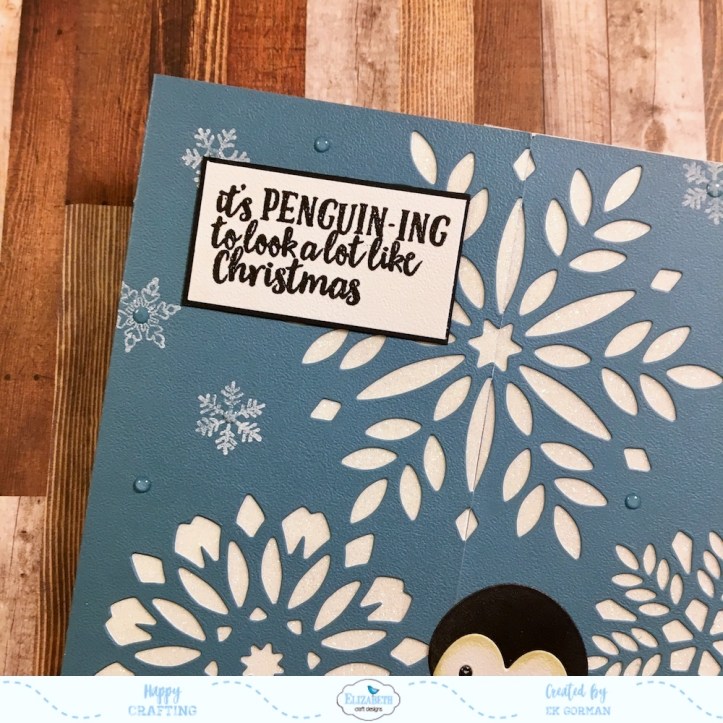
Step Thirteen: Using the snowflakes stamps from the new Cute Winter Sentiments stamp set and stamp white snowflakes over the card front.
 Step Fourteen: Stamp the sentiment from the new Cute Winter Sentiments stamp set onto some 85lb White Soft Finish Cardstock. Matte the sentiment panel with some Rich Black Soft Finish Cardstock. Adhere the panel to the top left corner with 6mm clear double sided adhesive.
Step Fifteen: Add some additional shimmer and shin by adding some clear drops (such as Nuvo or Glossy Accents) to the front panels.
 What you get in the end is a very sweet holiday card heralding in the start of Christmas.
 If you haven’t seen the new Cute Winter Sentiment stamp pack, make sure you check then out. All the sentiments are really cleaver and whimsical.
Make sure you go over to the Elizabeth Craft Designs Blog today and check out all the great projects created by the Design Team. There whole new line of dies and stamps from Joset are being featured today, and you don’t want to miss out on the fun.
 Thanks for peeking in today, and I hope you enjoyed this project!

