
Hey Friends. I am starting to gear up for school here. We are thinking about getting school supplies and cleaning out closets to see what clothing no longer fits. We are preparing for new schedules and debating whether or not we need to get new backpacks. I am starting to talk to the ladies I work on school committees with and, well, frankly just gearing up for school to start.
And for the first time, I want more time. The kids are no longer so little, and we have really just had too much fun. We have watched cool old movies together like the Lord of the Rings trilogy instead of poorly made cartoons. We have learned to play difficult strategy board games instead of the juvenile things like Life. And we sit together nightly to eat after cooking together. And it is this cooking together that I think I will miss most. Sitting out by grill throwing baseballs and frisbees while my husband prepares meat. Laughing and just being.
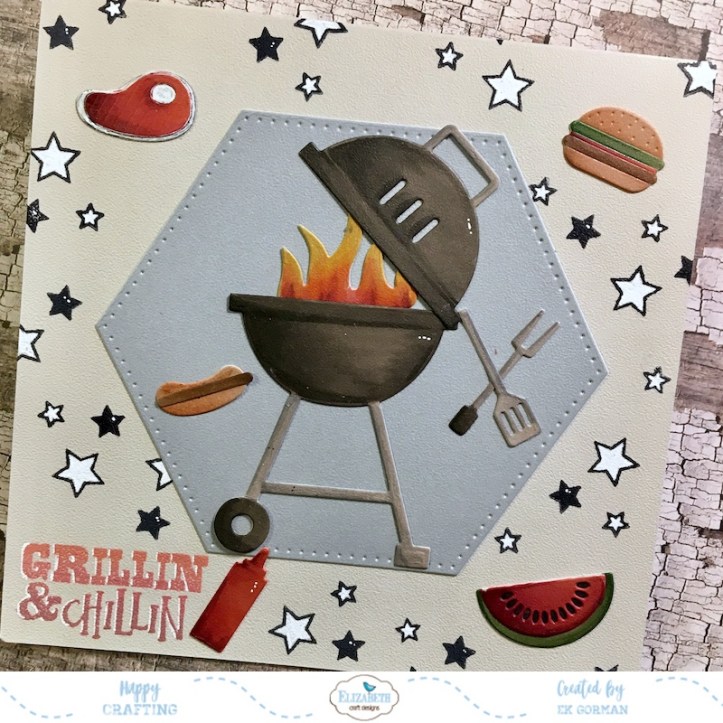 So to capture the moment of summer before it drifts away like a memory, I thought would make a little card. I pulled out the new Backyard Barbeque die set from Elizabeth Craft Designs and my copics to do some die cut coloring.
 Step One: Die cutting all the pieces of the die out in some Cafe Au Lait Soft Finish Cardstock.
(Why the beige paper you ask? The truth is I am running out of white soft finish cardstock at the moment and had some scrapes of this laying around, so I figured why not give it a try.)
 Step Two: Color the die cuts with alcohol markers.
(Frankly, the Cafe Au Lait paper colored up beautifully. I didn’t use a huge range of makers to color the images. The ‘black” was colored with W6, W7, W9. The silver was colored with N0, C3, C5. The red was colored with R24, R37, R89. The tan was colored with E95, E97, E99. The dark brown was colored with E57, E59. The green was colored with YG63, YG67, G29. And the flames were colored with Y13, Y17, YR07, R05, R24, R37, R89.)
Step Three: Using Kids Choice Glue, assemble the die cuts.
 Step Four: Cut a piece of Dove Gray Soft Finish Cardstock to 12″x6″. Score and fold in half to make a 6″x6″ card frame.
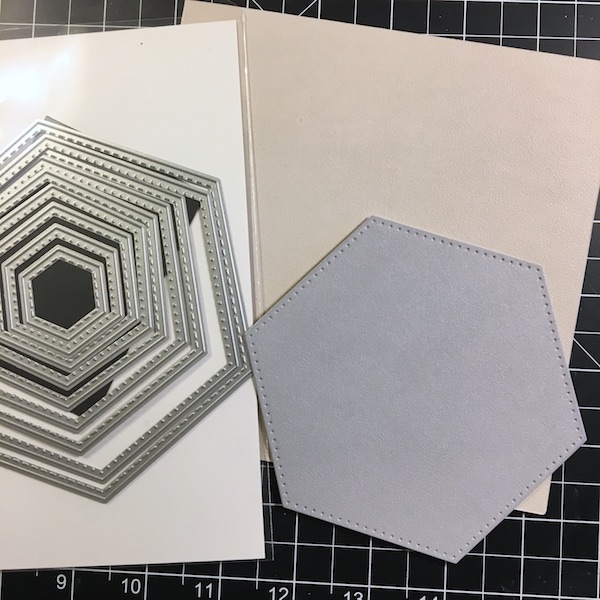
Step Five: Die cut a hexagon out a piece of Silver Gray Soft Finish Cardstock using the Stitched Hexagons die set.
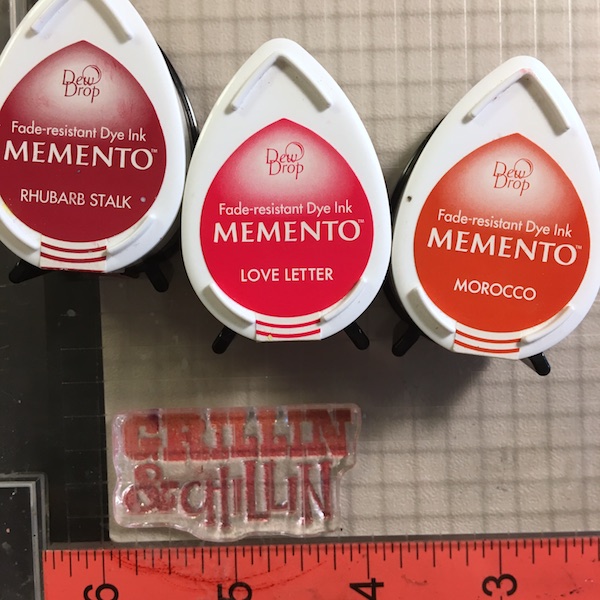 Step Six: Using the Summer Fun Sentiments stamp set, stamp the sentiment onto the bottom left corner of the Dove Gray frame using an ombre of inks. I used Morocco, Love Letter and Rhubarb Stalk Memento ink.
 Step Seven: Using 6mm Double Sided Adhesive, adhere the hexagon to the center of the card frame.
Step Eight: Using 3mm Double Sided Adhesive, adhere the die cuts onto the card.
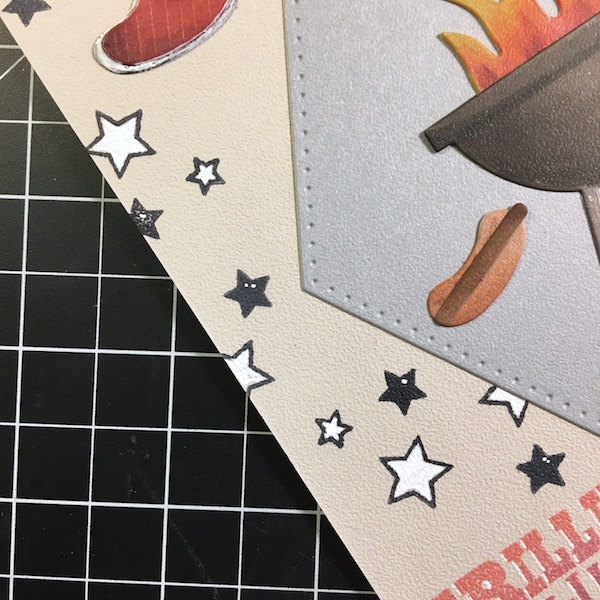 Step Nine: Using the stars from the Summer Fun Sentiment stamp set, stamp the stars all over the outside of the card using Black Tuxedo memento ink.
Step Ten: Fill in the open stars with white gel pen. I used the Signo pen.

I feel this is a perfect glimpse of the summer my family has been having. Lots of good food and even better times.

Thanks for peeking in today. I hope you find great joys in the last days of your holiday.

