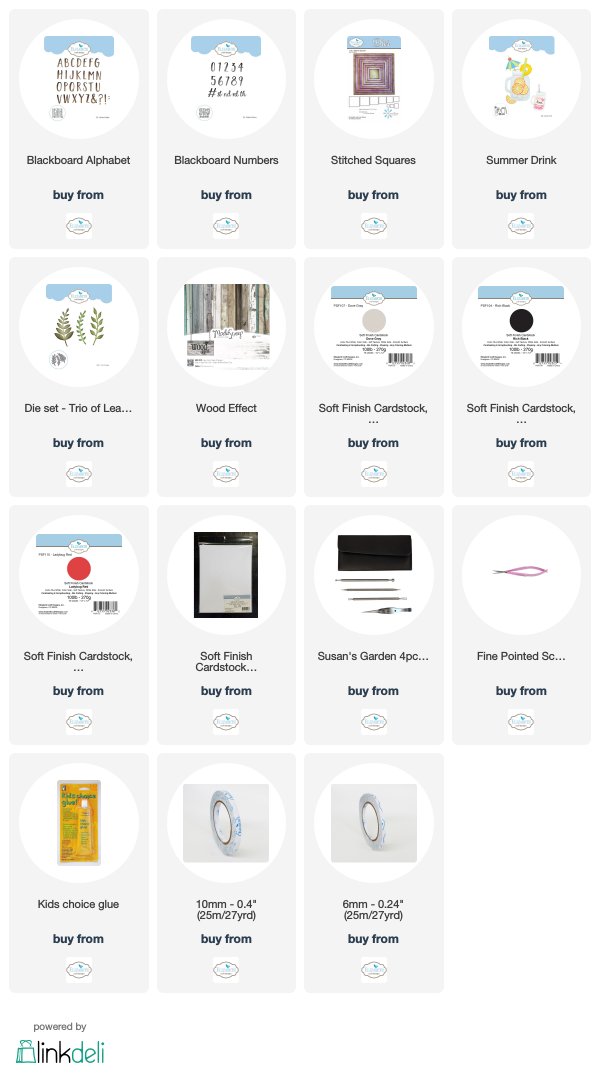
It’s that time of month again for the July Designer Challenge. This month the Designer’s theme revolves around the new Blackboard Alphabet and Blackboard Numbers.
Before we hop into my project, don’t forget to jump over to the Elizabeth Craft Designs Blog to see all the amazing Design Team Projects. And while you are there, make sure you leave a comment to the question: What Elizabeth Craft Designs die or stamp set would you use with the Blackboard Alphabet or Blackboard Numbers die sets?
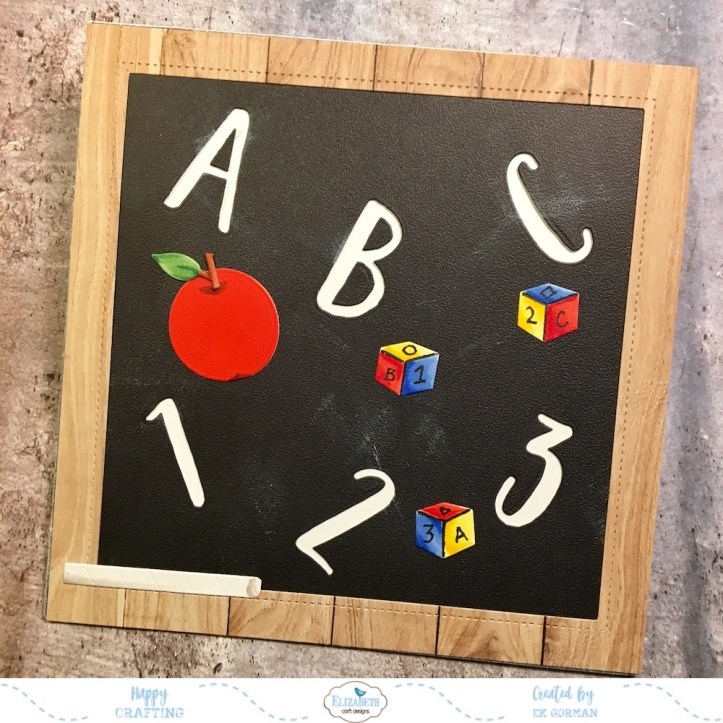
For my project this month, I wanted to make a card for a teacher friend of mine since the start of school is just around the corner. However, to make this card I had to be a little creative in using my dies to get the die cuts I wanted. I don’t actually have an apple die, but I was to create one using just a little bit of creativity and looking at dies in a different way. The apple is made from a lemon slice die and a bit of a leaf die. To make the blocks, I used a die meant to make ice cubes. The stick of chalk, well, that’s make out of a straw die. Don’t you just love when you can use dies in new and different ways!!!
To help you see how I made the card, I went ahead and create a tutorial video for you to watch the process.
Step 1: Trim a sheet of Wood Effects printed paper to 6″x6″. Using the the largest die from the new Frame It/Stitched Squares, die cut the printed paper to create a wood frame.
Step 2: Trim a piece of Rich Black Soft Finish Cardstock to 6×6.
Step 3: Die cut the A, B, and C from the Blackboard Alphabet die set and 1, 2, and 3 Blackboard Numbers die set into the black paper.
Step 4: Using white pigment ink, gently run it over the black cardstock to give the feeling of chalk over a blackboard.
Step 5: Adhere the black paper to a 12″x6″ cut piece of Dove Gray Soft Finish Cardstock that has been folded in half with the white side up using 10mm Double Sided Adhesive. Adhere the Wood Effects frame on top of the black cardstock using 6mm Double Sided Adhesive.
Step 6: Die cut the the ice blocks and the straw from the Summer Drinks die set out of 85lb White Soft Finish Cardstock and the circle lemon die out of Ladybug Red Soft Finish cardstock. Also die cut the Trio of Leaves out of 85lb White Soft Finish Cardstock.
Step 7: Using scissors, trim the Leaves down to one leaf and a stem like an apple. Using your alcohol markers (I used my copics) color the leaf and stem.
Step 8: Adhere the leaf and stem to the lemon circle die cut out (now an apple) using Kids Choice glue. Using gray alcohol markers, add some shadows and depth making the die cut look more apple like.
Step 9: Color the three ice cube die cuts (now school blocks) using primary colors. Add letters, numbers, and shapes to the blocks using a copic friendly liner pen.
Step 10: Trim the die cut straw (now a piece of chalk) in half. Add a circle shadow to one end of the chalk piece to give it dimension using light gray alcohol makers.
Step 11: Adhere the die cuts to the card using Kids Choice Glue.

 Thanks for stoping in to see my contribution to the ECD July Designer Challenge. Don’t forget to pop over to the ECD Blog for a chance to win a gift card!