
Hi friends! I thought I would sneak in today and share with you a little bit of the paper flowers I have been making lately using some Elizabeth Craft Designs supplies.
I am seriously in love with the Susan’s Garden dies that allow you to make such realistic looking flower. Today I am playing around with the new Shasta Daisy die set from Susan’s Garden.
 I thought it would be kind of fun to layer the flowers through two different windows of paper.


Step 1: Trim a 12″x6″ piece of Dusky Sky Soft Finish Cardstock and die cut an oval out using the new Frame It/Stitched Ovals die set. Trim up a piece of 85lb White Soft Finish Cardstock to fit into the oval hole.
Step 2: Trim a piece of Wood Effects printed paper to 6″x6″. Die cut a square opening using the new Frame It/Stitched Squares using the largest die.
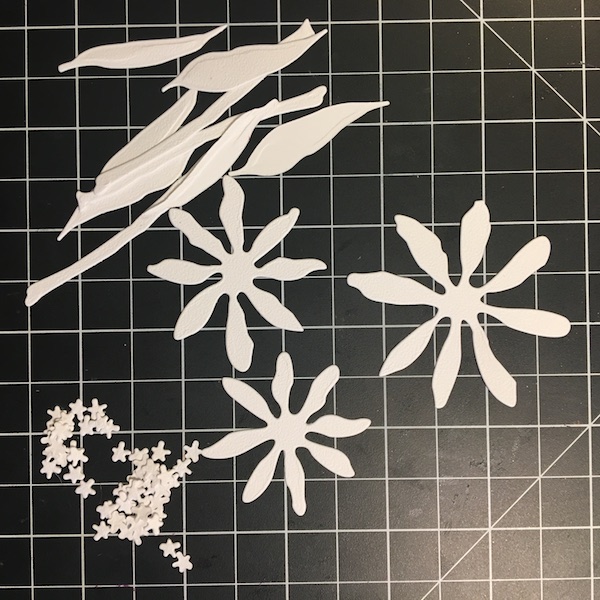 Step 3: Die cut the Shasta Daisy die set out of 85lb White Soft Finish Cardstock.
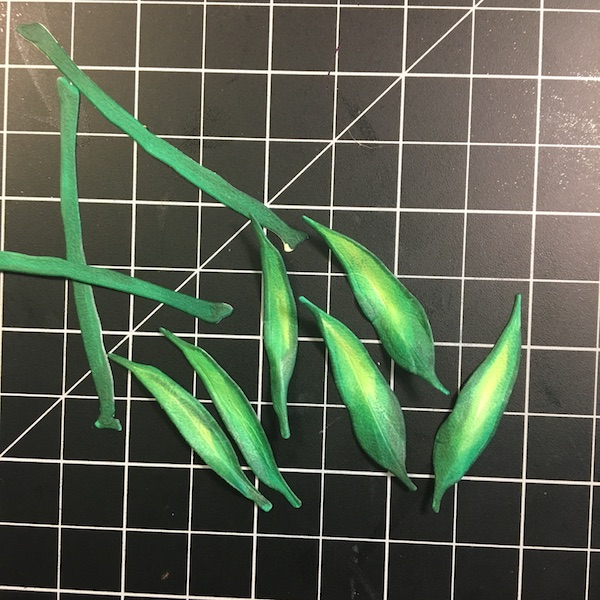 Step 4: Color the leaves and stems with alcohol markers. I used my copics and colored with YG03, YG06, G19, and G29. Then shape the leaves using the precision tools and leaf molding pad.
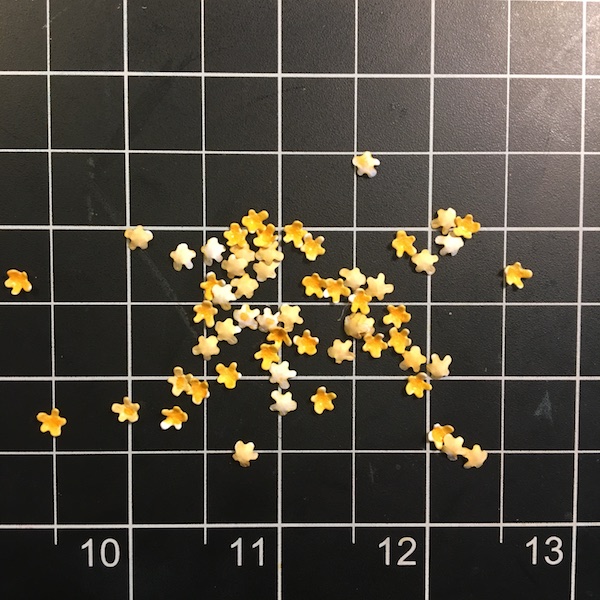 Step 5: Color the center buds with alcohol makers. I used Y13 and Y17. Shape the buds with the small stylist and the molding pad.
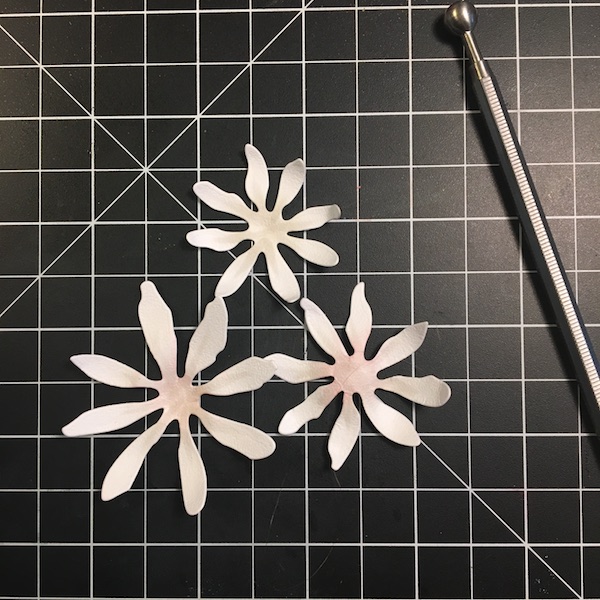 Step 6: Add touches of shadows to the flower petals using N0 and N2. Shape the petals using the precision tools and molding pad.
 Step 7: Using double side adhesive, adhere the white cardstock behind the oval opening.
Step 8: Using more double side adhesive adhere the Wood Effects paper to the top of the card frame.
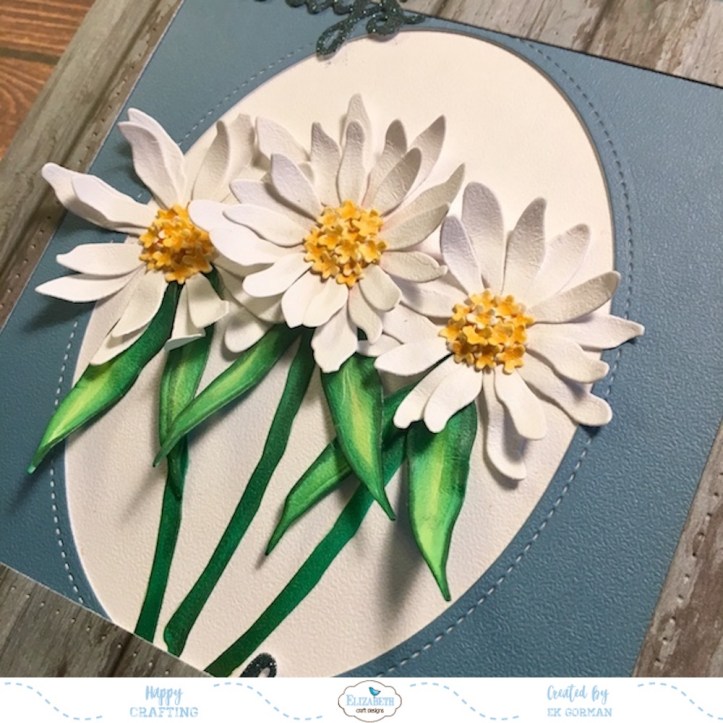 Step 9: Using Kids Choice Glue, assemble and adhere the daisies to the card frame, tucking the stems under the frames.
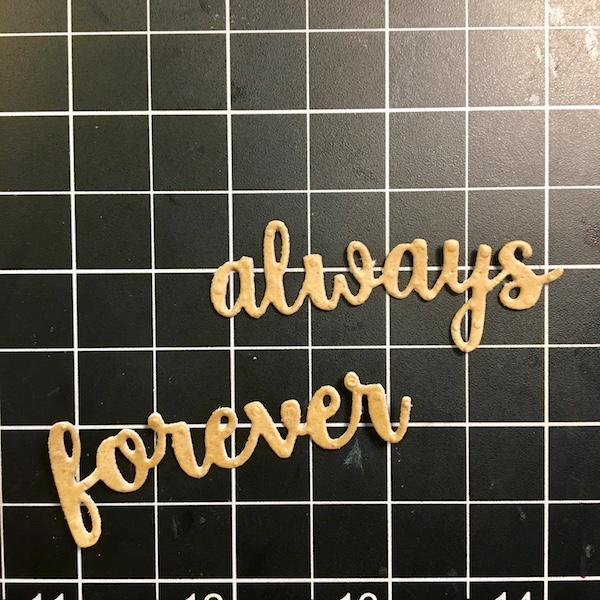 Step 10: Add double side adhesive to some 85lb White Soft Finish Cardstock. Then die cut the sentiment using Words 4- Remember die set.
Step 11: Add dark teal micro fine glitter from the Earth Glitter Palette.
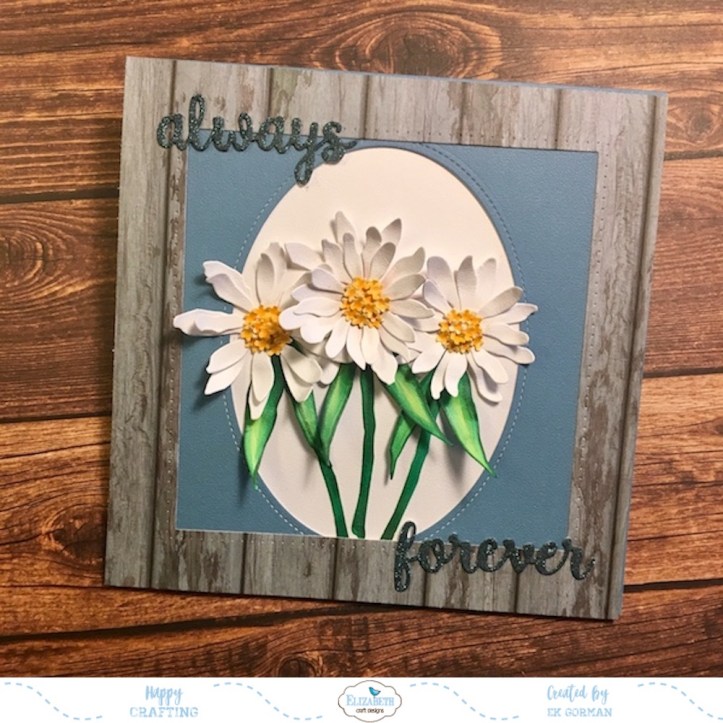 Step 12: Using Kids Choice Glue adhere the words to the card frame.

I just love how this die create such realistic looking flowers. I am always amazed at how easy it is to create these beautiful flowers.

