

Hello friends! I just love how I can pick up all kinds of international crafting supplies from White Rose Crafts. Today, I am creating a collection of cards crafted from the Winter Wonderland paper pack from the Japanese crafting company Asuka Studio. This is a fairly new line for WRC shelves, and I am falling absolutely in love with these unique papers. If you have not checked out this line of papers, you really most pop over and see what they have to offer.

Step One: Trim up the page with the ephemera from the Winter Wonderland paper pack using a paper cutter to get clean lines.

Step Two: Trim one of the pages in half so you can you designs from both sides for two different cards. Trim the two cuts to 3×5.5 inches.

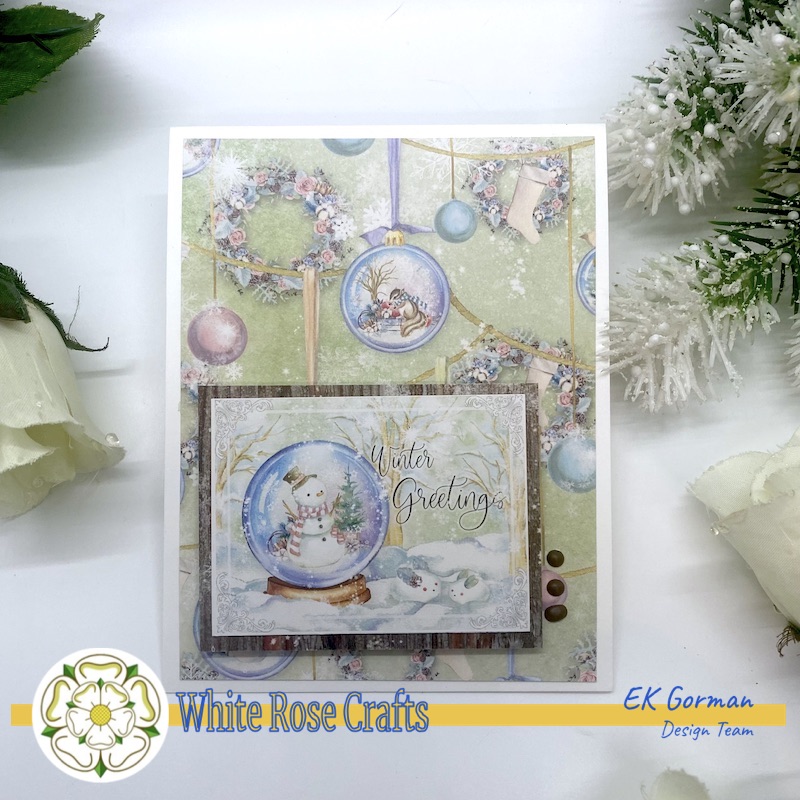
Step Three: On an A2 card frame, blend a line of blue ink down the middle. I used Chipped Sapphire Distress Oxide. Spray the card frame with Shimmer Craft Spray in Frost to create a winter feel. Adhere the snow cottage image to the card frame using double sided tape.
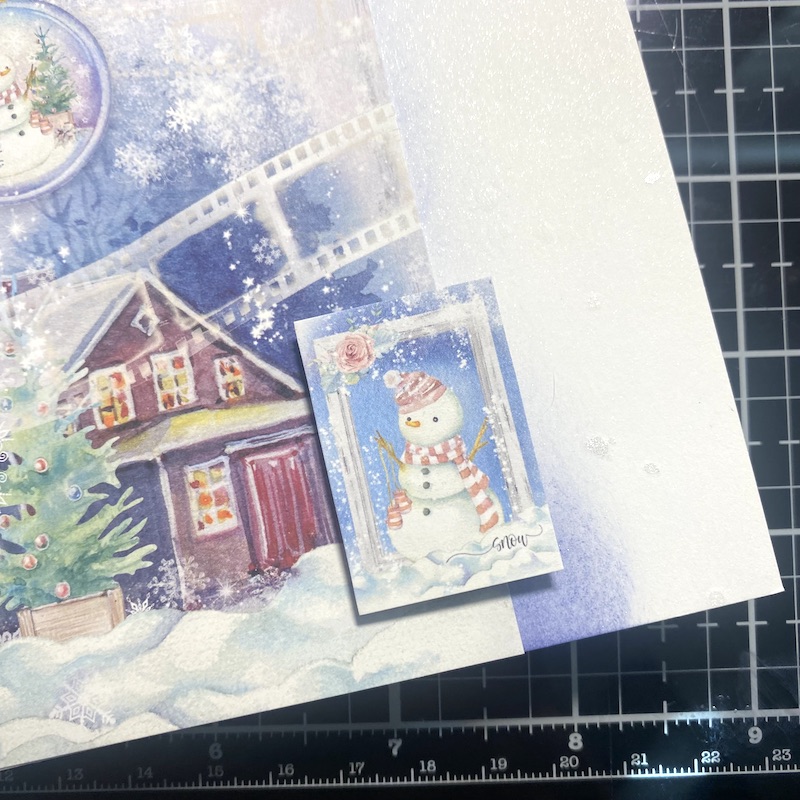
Step Four: Add one of the ephemera pieces to the card using foam tape squares so it has dimension.
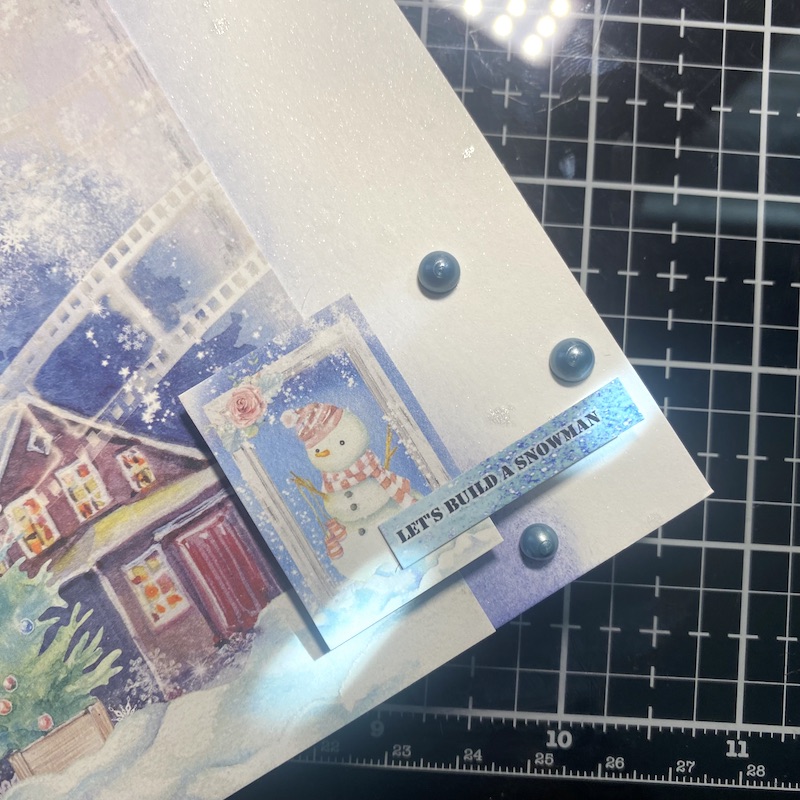
Step Five: Add the sentiment from the pile of ephemera, popping up one end with a foam square. Add Nuvo Crystal Drops around the sentiment in Wedgewood Blue.
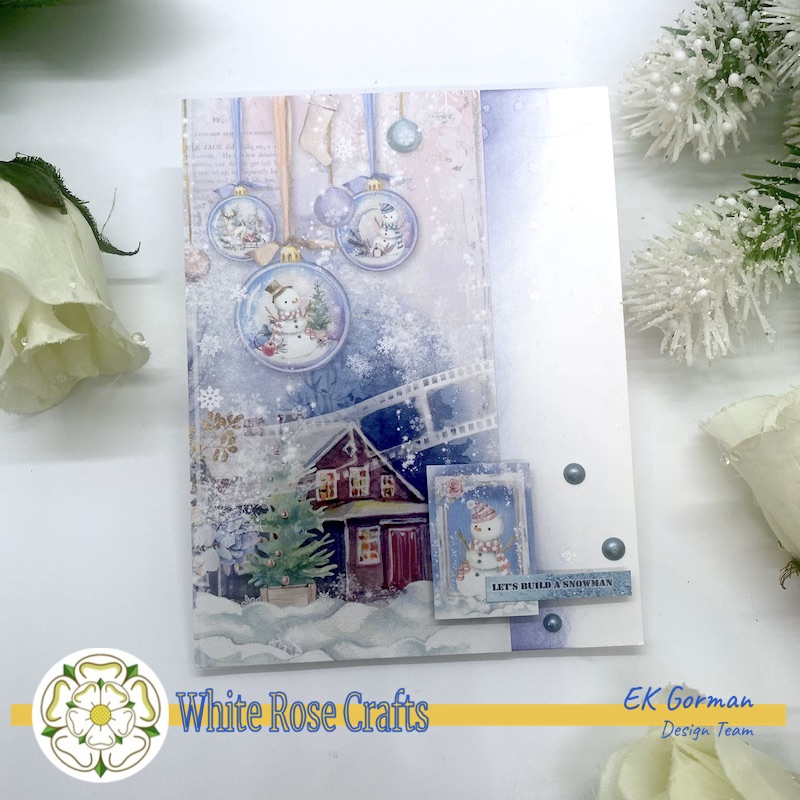
Card One Complete

Step Six: Take the second trimmed piece of card stock and score the edges with the Chipped Sapphire ink. Spray an A2 card frame with Frost Shimmer Craft Spray. Adhere the cardstock to the card frame using double sided tape.
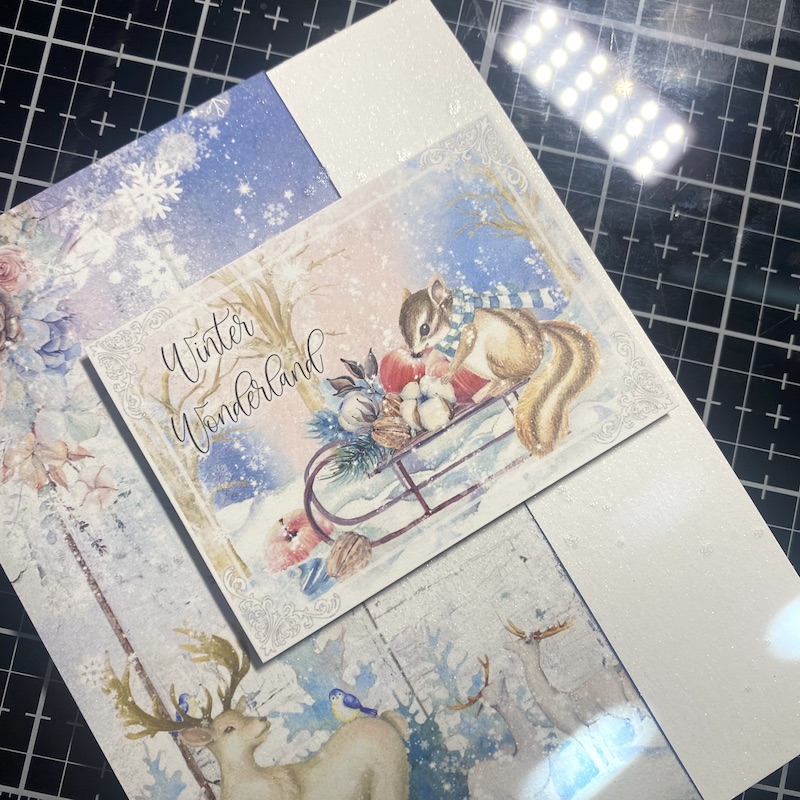
Step Seven: Add a piece of ephemera to the card frame using foam tape squares.

Step Eight: Add Adhesive Gems to the card to finish it.
Card Two Compete

Step Nine: Adhere the wreath piece of cardstock untrimmed to a 6×6 inch card frame using double sided tape. This piece of paper is so beautiful, it does not need to be trimmed to create a beautiful card. In fact most of the pages could easily be there own 6×6 card.

Step Ten: To add a little extra to the paper, spray it with Frost Shimmer Craft Spray.

Step Eleven: Add ornaments to the wreath in a variety of colors. I used Dusty Rose, Dark Walnut, Ivory Seashell, and Earl Gray.
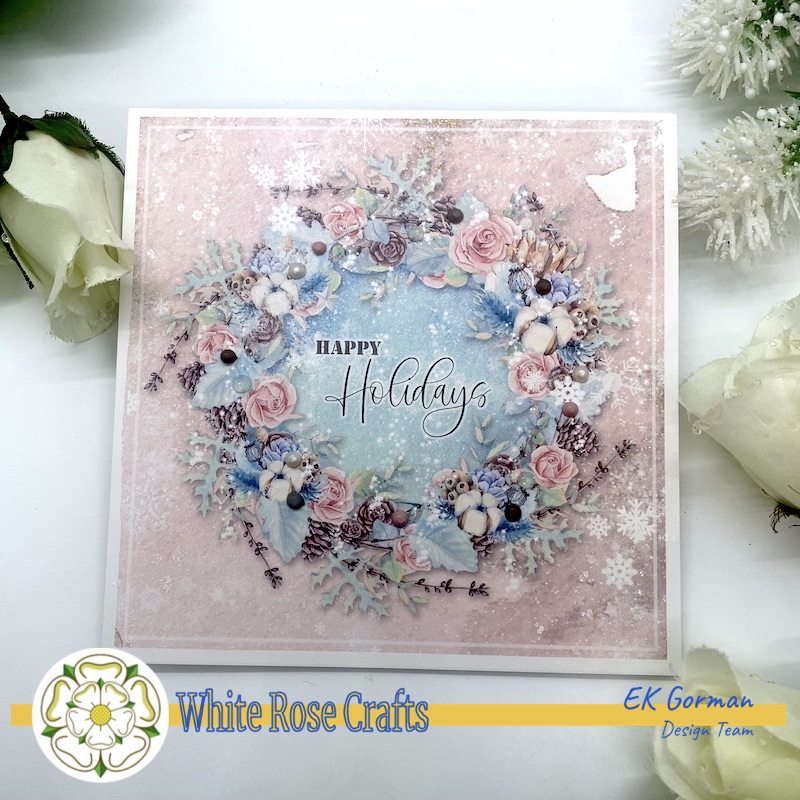
Card Three Complete

Step Twelve: Trim a piece of wood themed paper to 4×5.25 inches and adhere to an A2 card frame. Adhere using double sided tape.

Step Thirteen: Fussy cut out a sentiment banner from the sentiment page.

Step Fourteen: Using a dark blue cardstock, add a blue frame around six pieces of trimmed ephemera. Trim the cardstock.

Step Fifteen. Add the framed ephemera to the card using a ruler to help line everything up.
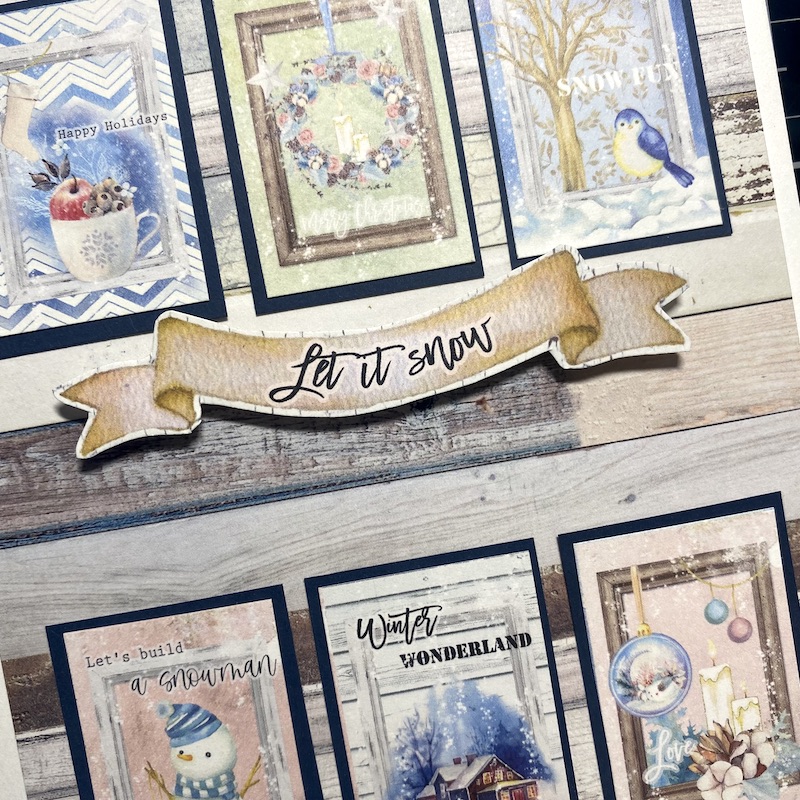
Step Sixteen: Using foam squares, add the banner.

Card Four Complete.
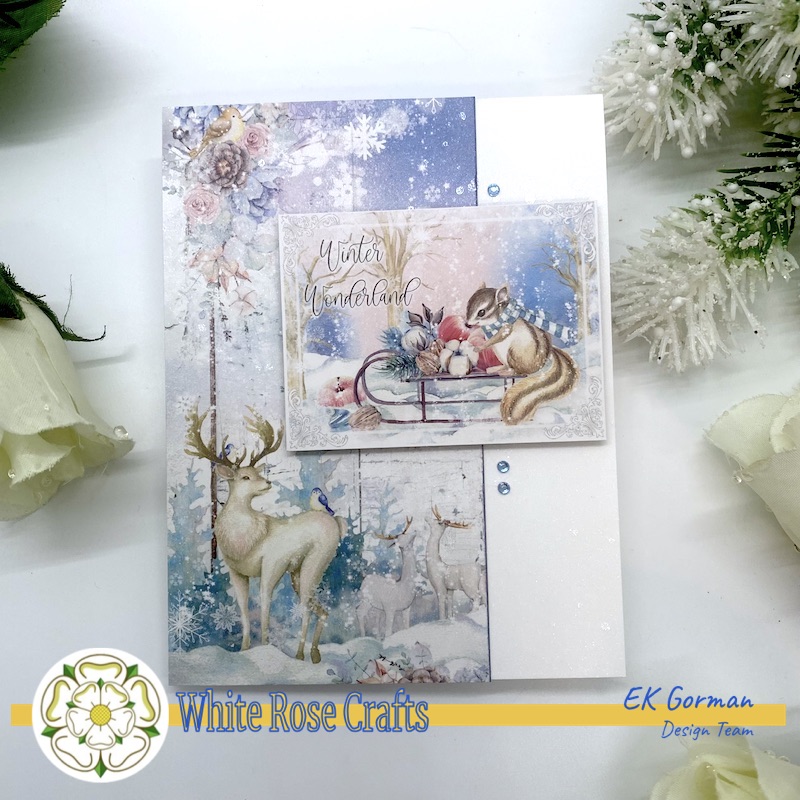
I some how lost the process photos of the fifth card. But here were the steps involved.
Step Seventeen: Trim a piece of printed paper to 4×5.25 inches. Adhere to an A2 card frame using double sided tape.
Step Eighteen: Add a piece of wood grained printed paper behind a piece of ephemera. Adhere to the card frame using foam tape squares.
Step Nineteen: Add Nuvo drops to boarder the frame. I used Chocolate Chip.
Let me know in the comments below which of the five cards is your favorite. And make sure you pop over and check out the full Asuka Studios line. Until then, happy crafting.
