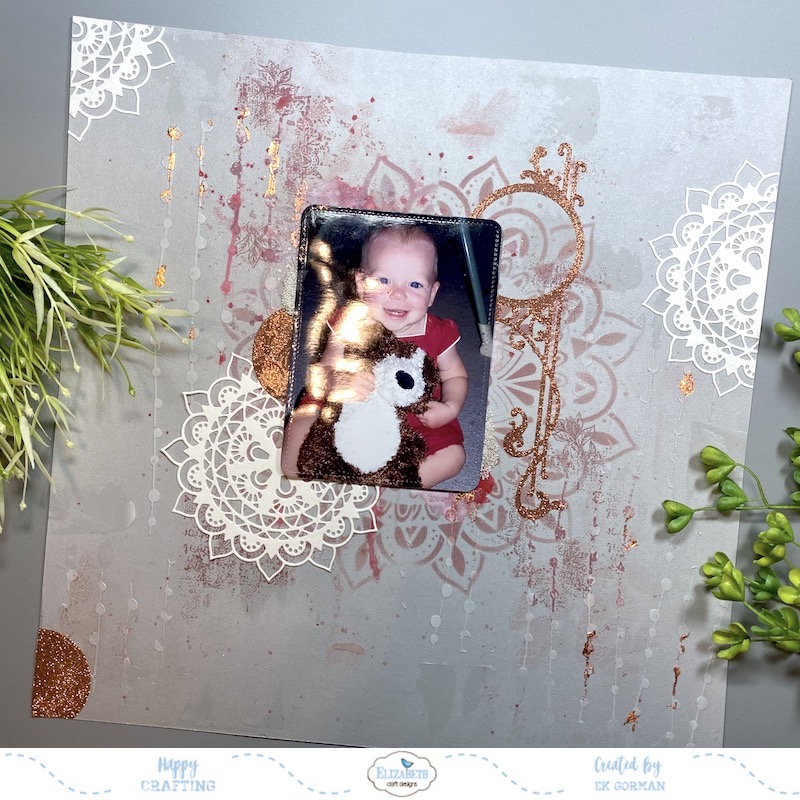
Did you hear? Today Elizabeth Craft Designs Design Team is dedicating this monthly group posts to Scrapbook layouts. Now, as you know, I am not a scrapbooker, and frankly have little knowledge on how to create such a layout, but I am alway eager to jump in and try something. I thought if I tried to create something along the lines of mixed media canvas with a picture, then I might be able to come up with an idea. What do you think? Was I close? Let me know in the comments below.
Want to see how I created this 12×12 layout continue scrolling down to see a full pictorial tutorial.

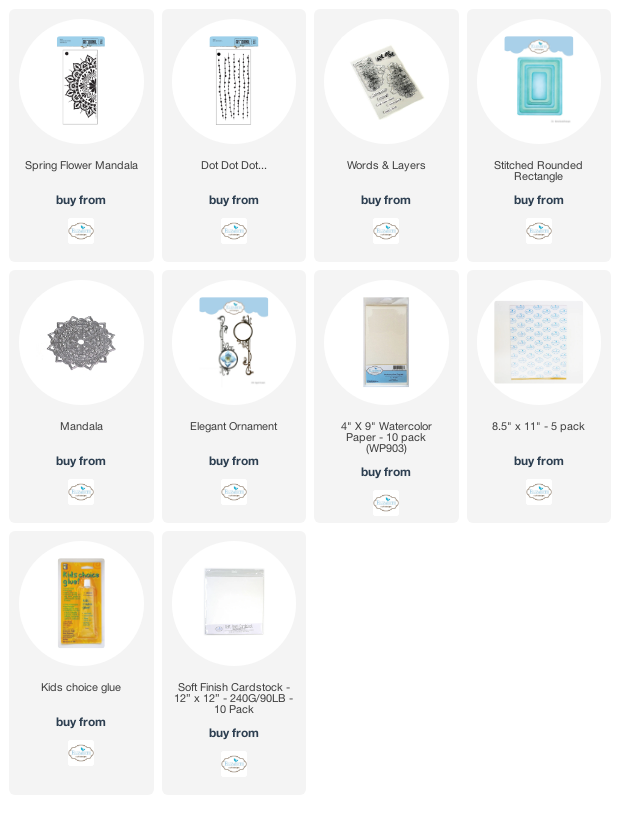
Step One: One a piece of 12×12 cardstock, blend ink through the Spring Flower Mandala stencil, flipping it over so that you create a full Mandala. I used Aged Mahogany Distress Oxide as my ink.

Step Two: Splatter ink onto the page and add a bit of color over the page with wet ink. I used the same ink, Aged mahogany Distress Oxide.

Step Three: Using molding paste, add texture by pressing the paste through the Dot, Dot, Dot… stencil. I used Golden Molding Paste.
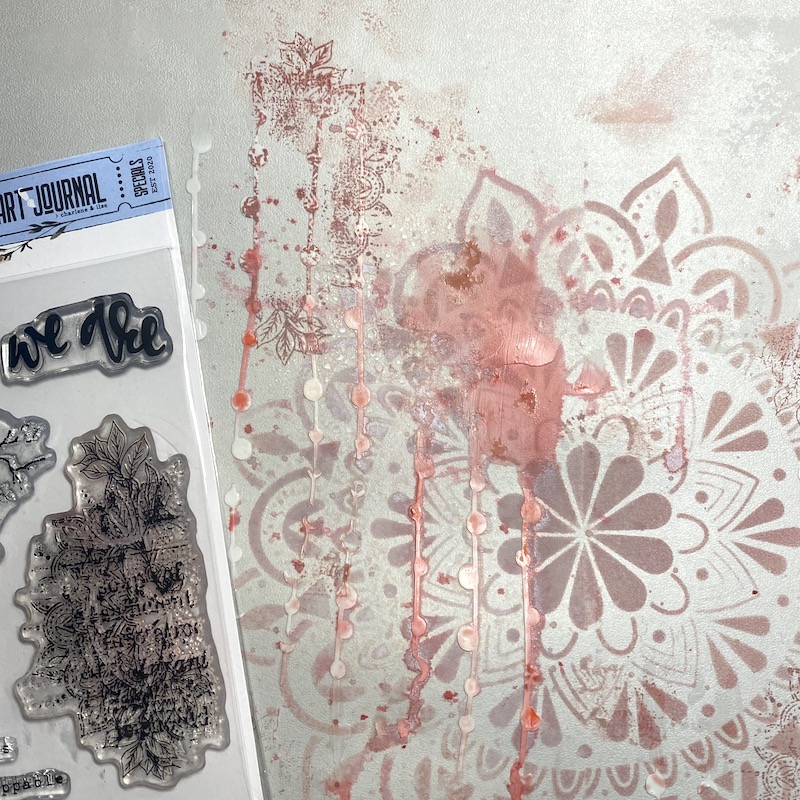
Step Four: Stamp more texture onto the page using the Words & Layers stamp set. I used more Aged Mahogany Distress Oxide to stamp. Spray liquid ink and water onto the page and let it run. I used Tattered Rose Distress Oxide Spray and Festive Berries Distress Ink Spray.

Step Five: Die cut your picture with the Rounded Stitched Rectangle die set.
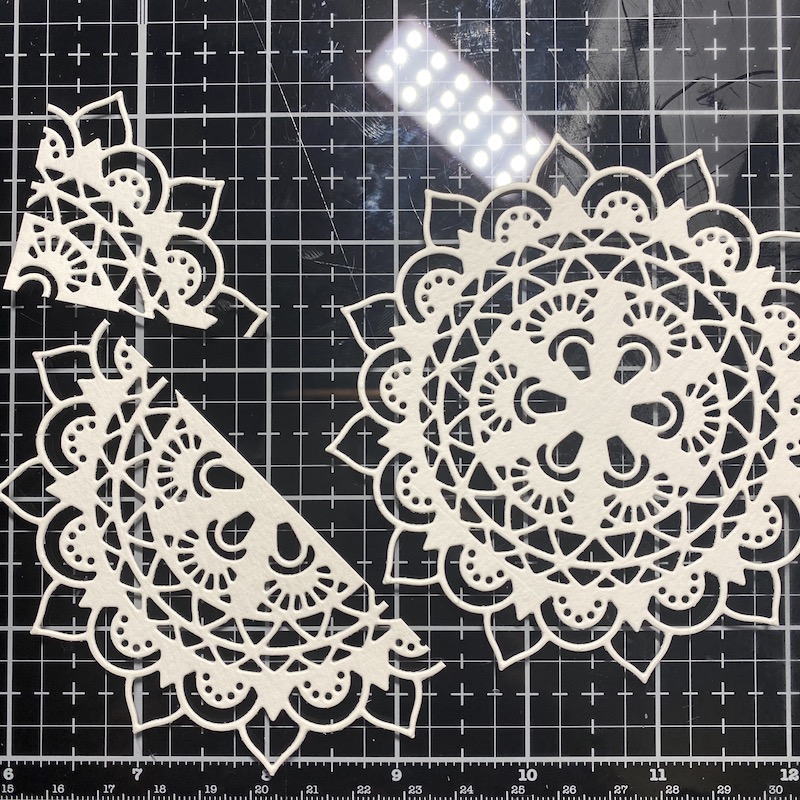
Step Six: Die cut two mandalas from Watercolor Paper using the Mandala die set.

Step Seven: Die cut the Elegant Ornament die set from some Clear Double Sided Adhesive sheets.

Step Eight: Peel the backing off the Clear Double Sided Adhesive and add it to your layout. Peel off the top layer and add Copper Silk Microfine Glitter to the die cut.

Step Nine: Using liquid adhesive, adhere the mandala and mandala pieces to the layout. I used Kids Choice Glue.
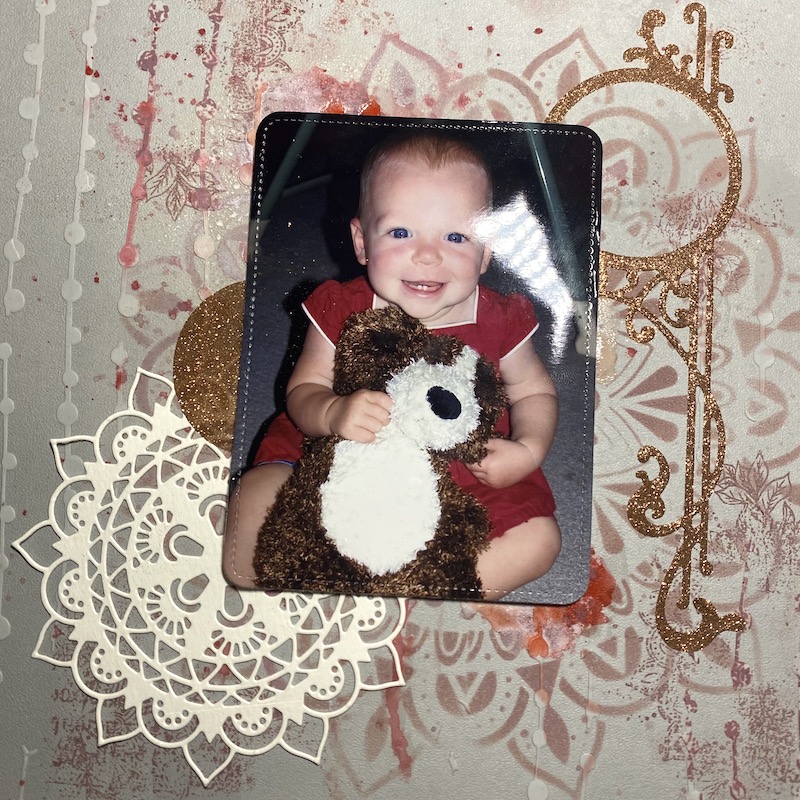
Step Ten: Adhere your picture using foam tape. Add the circle from the Elegant Ornament die cut cut in half and add it to your project in two places. Cover it in Copper Silk Microfine Glitter. Add more liquid ink color around the edges of the picture.
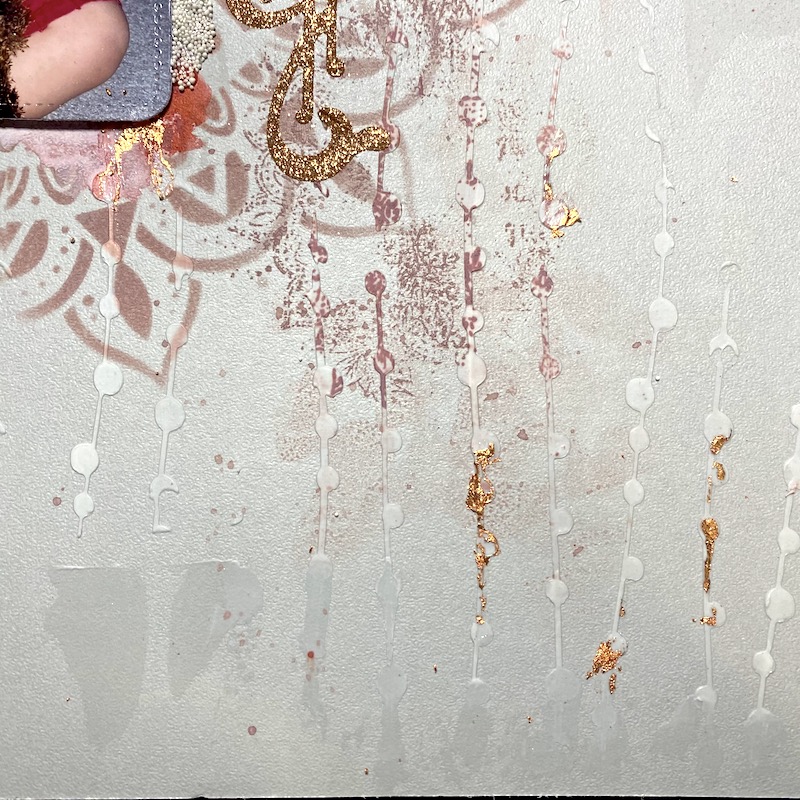
Step Eleven: Add more details to projects adding some micro beads to liquid adhesive and other copper touches using Nuvo Gilding Flakes.

I really don’t know if I did any of this right. I know if I could go back and start again I would add clear gesso to the paper before I did anything else.
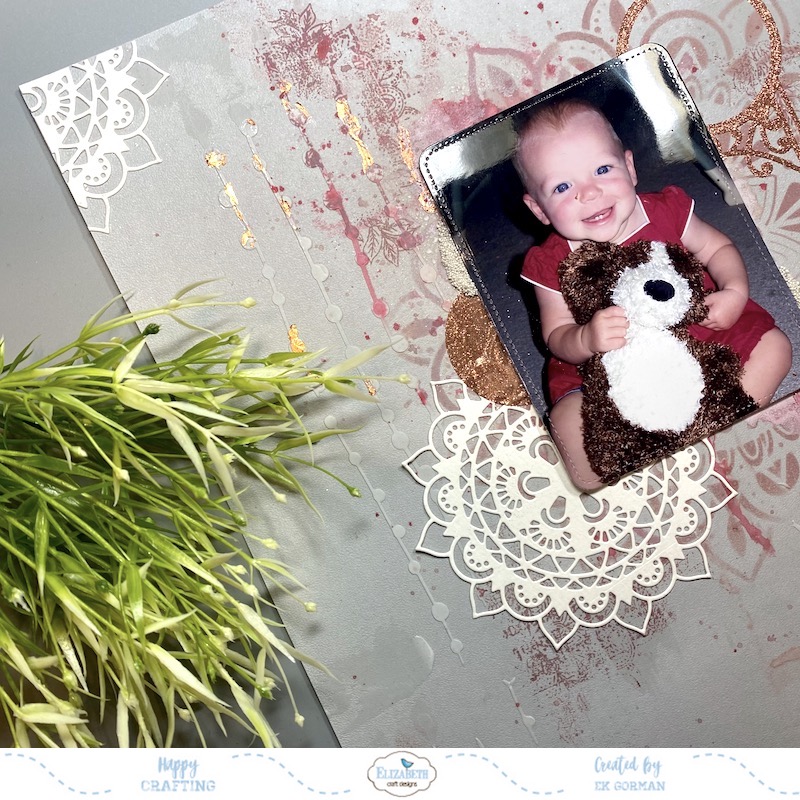
I also know that while my first born has a fairly nice baby book, my second and third child do not. So while scrapbooking is not really in my comfort zone, you may be seeing a few more pages like this now that I seem to have create my first modern scrapbook page.

Make sure you pop over to the ECD blog today to check out layouts from people who actually know what they are doing. Until then, happy crafting.