It is Halloween time (my favorite holiday of the year), and I am getting into the spirit by dressing up all (okay, not all), but many of the Elizabeth Craft Designs Critters! For full transparency, this project has taken a couple of months of work off and on, but it has so been worth it.

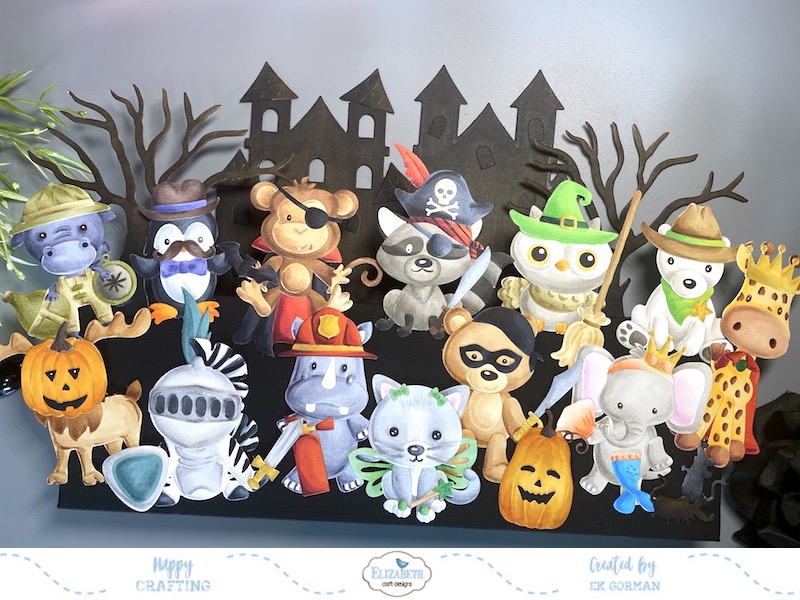
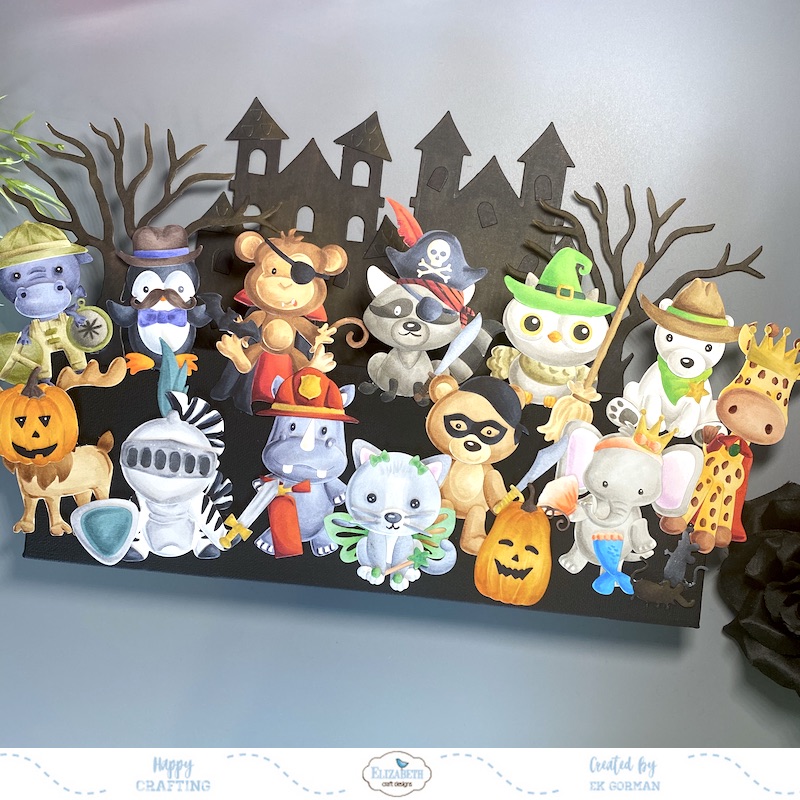
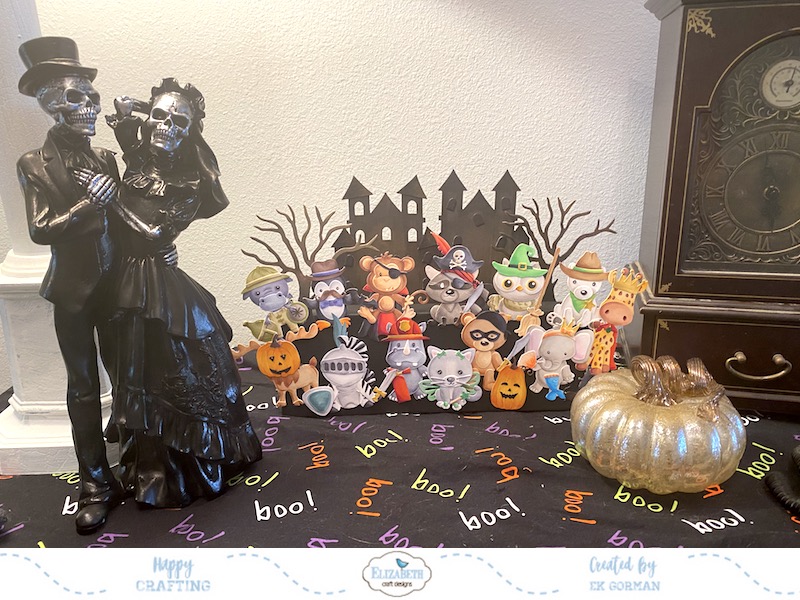
I just love how this free standing halloween decoration looks on my entryway table! It has a great Halloween feel, but still is super family friendly.
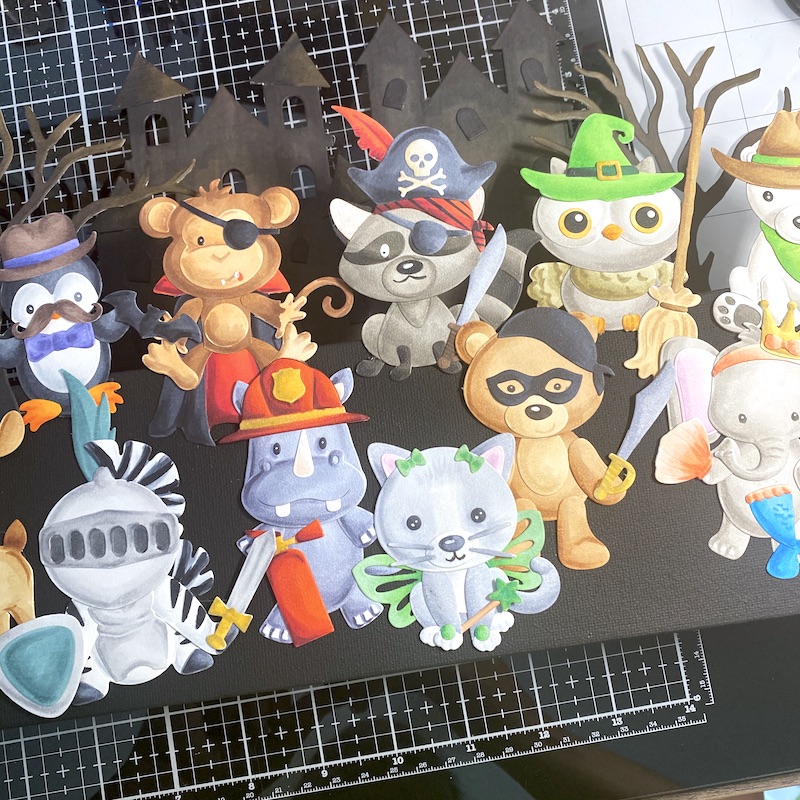
Normally when I create projects, I create a pretty detailed pictorial tutorial, but this project is so large I only captured how I made the free standing base. I did however capture an individual picture of each critter after they were colored and assembled.

Step One: Paint a 12x4x2 inch canvas black. Let dry.
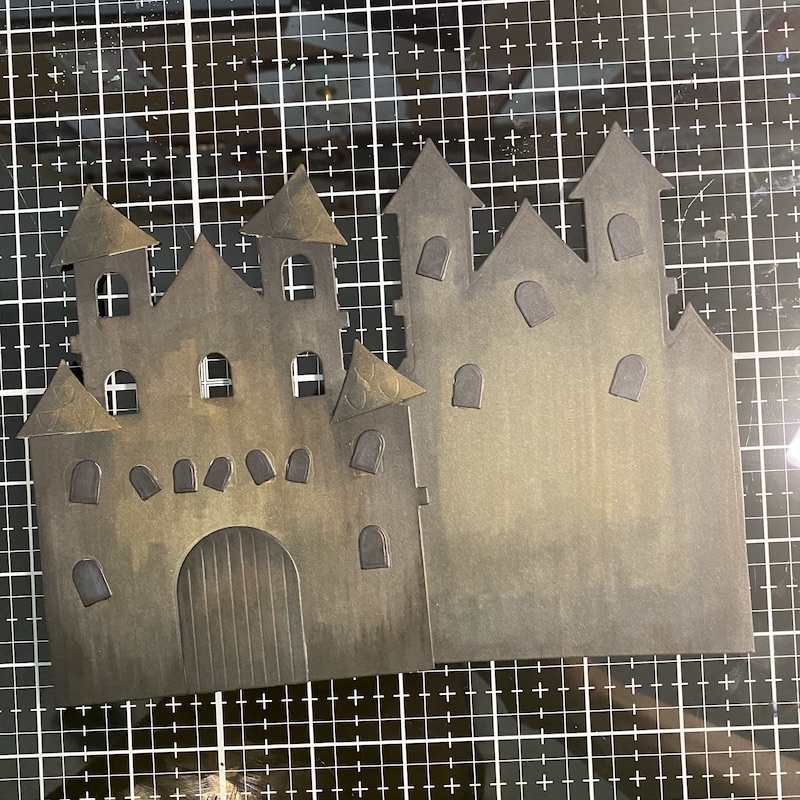
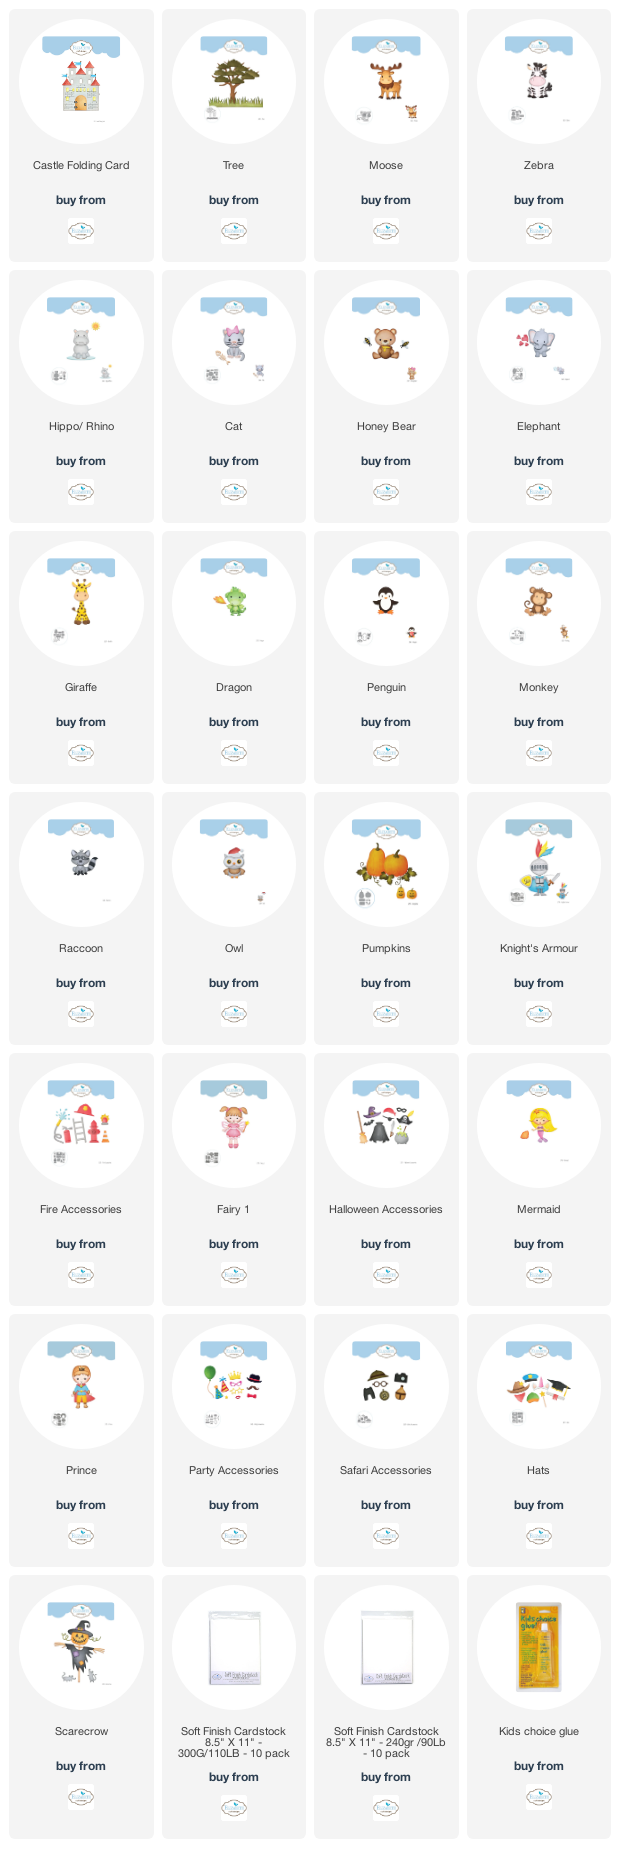
Step Two: Die cut the Castle Folding Card out of 110lb Soft Finish Cardstock. Trim the back off the card. Color both with copic markers, adhering together with Kids Choice Glue. Add doors and windows with Kids Choice Glue.

Step Three: Die cut two Tree die cuts out of 110lb Soft Finish Cardstock. Color with copic markers.

Step Four: Using hot glue, adhere both the castle die cuts and trees to the canvas. (I needed a little bit more quick stabilizing glue to make sure the die cuts stood up, so I used hot glue.)
Step Five: Die cut the critters and their costume pieces out of 90lb Soft Finish Cardstock. Color the pieces with copic markers. Adhere the pieces with Kids Choice Glue. Below is a full list of each critter and where their costume came from.

The Headless Horse Man was create using the Moose die set and Pumpkins die set.

The Valiant Knight was created using the Zebra die set and the Knight die set.

The Fireman was created using the Hippo/Rhino die set and the Fire Accessories die set.

A Tinker Bell was created using the Cat die set and the Fairy 1 die set.

Zorro was created using the Honey Bear die set and Halloween Accessories die set.

This one I think may be the funniest combination. The Mermaid Queen was created using the Elephant die set and Mermaid die set.
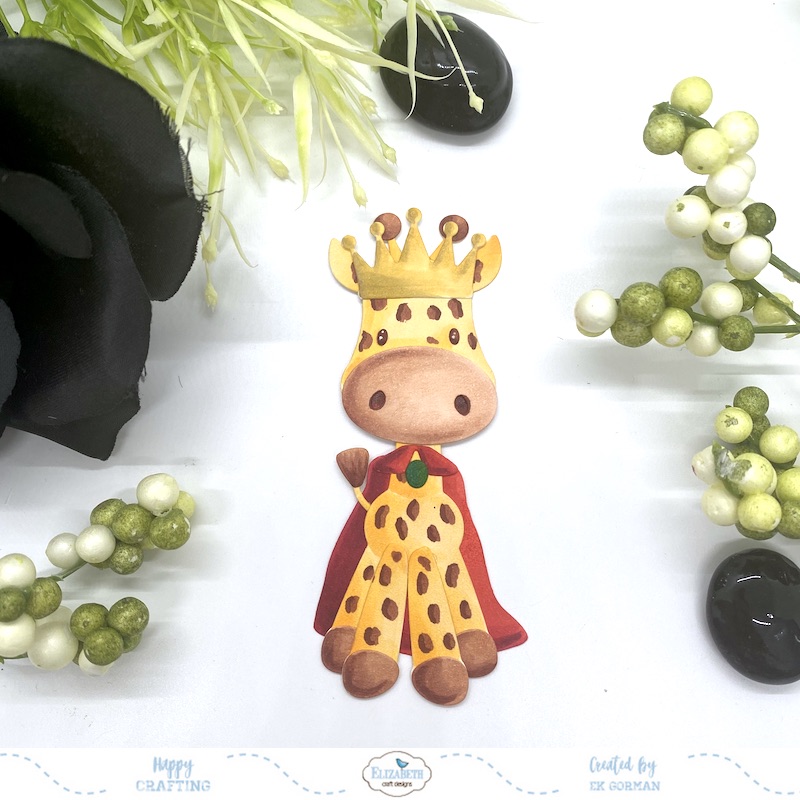
The Royal King was created using the Giraffe die set, the Prince die set, and Party Accessories die set.

The Explore is created from the Dragon die set and the Safari Accessories die set. Fun fact, I couldn’t figure out why the coveralls wouldn’t fit any of the critters well until this minute when I realized it was suppose to be the binoculars. Oh well, he looks cute!
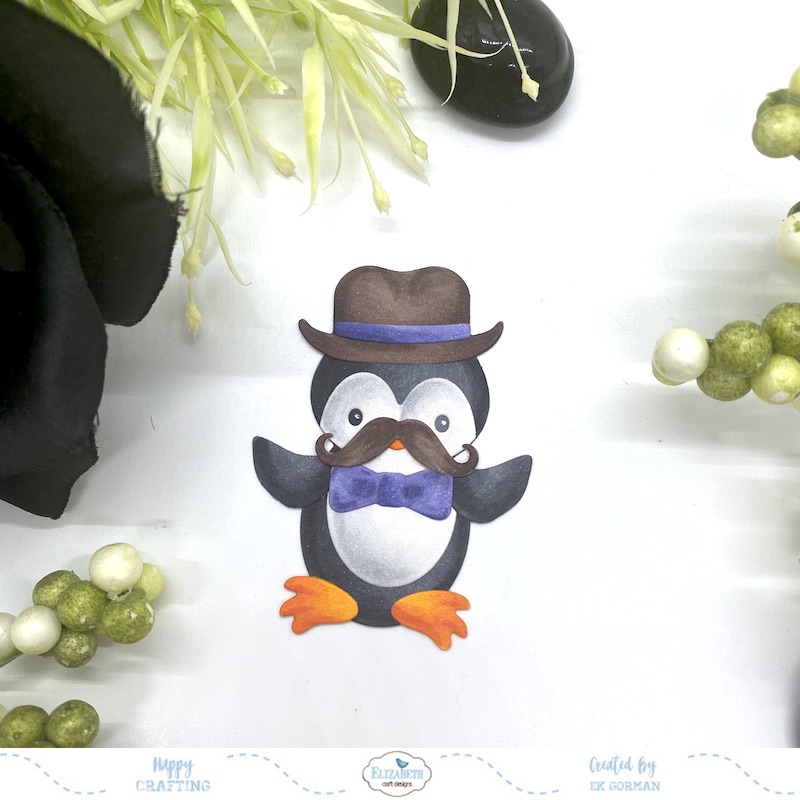
The English Man was create by using the Penguin die set and the Party Accessories die set.

The Vampire was create using the Monkey die set and the Halloween Accessories die set.
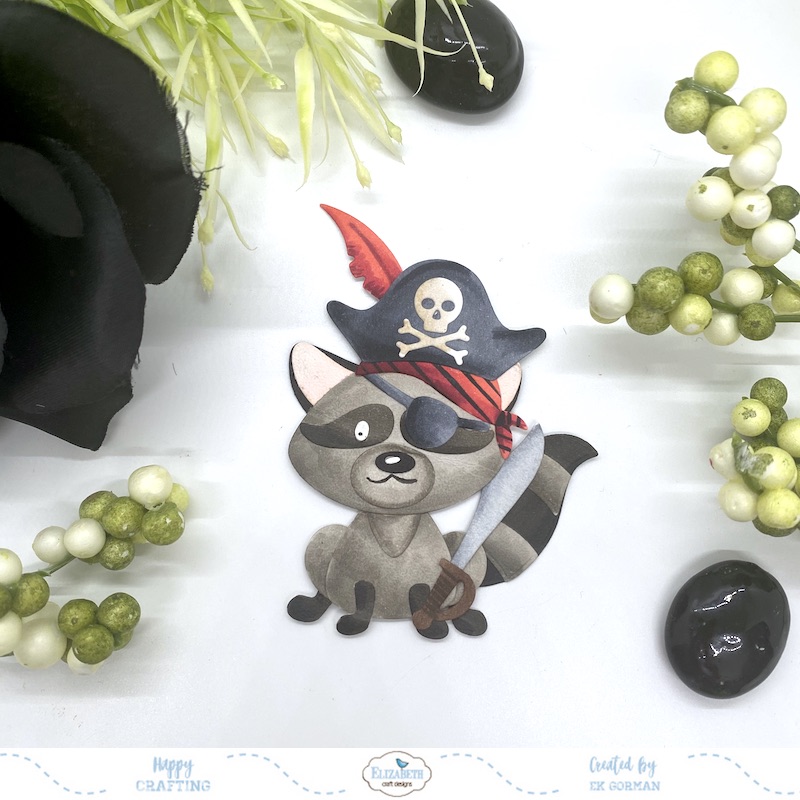
The Pirate was create using the Raccoon die set and the Halloween Accessories die set.

The Witch was created using the Owl die set and the Halloween Accessories die set.

Finally, the Cowboy was create using the Polar Bear die set and the Hats die set.
Step Six: Using hot glue, adhere the critters to the canvas.

I realized I kind of had a void here in the bottom right corners, so I added another pumpkin from the Pumpkins die set and and two mice from the Scarecrow die set.
I hope you think this project is as much fun as I think it is. I am really bummed because I had so many more ideas of how to dress critters up. But alas, I was only able to knock out 13 little halloween friends.
Let me know in the comments below which is your favorite. Until then, happy crafting!!!