I am finally getting a chance to share the first couple of pages I created for my June section of my ECD planner. I created both a cover page and the first three weeks for my planner. I thought I would take just a moment and share the pages I created (and pictured).
Don’t ask me why it took all month to share these pages…it has just been one of those really long months where time seemed to get away from me…how I love how these pages came out, so I wanted to make sure I shared them with you.
Cover Page For the month of June, I decided to use the colors blue, green and teals. For the cover of June, I used distress oxides in Salty Ocean, Mowed Lawn, and Peacock Feathers on a die cut piece of 90lb White Soft Finish Cardstock from the Planner Essentials 5 die set.
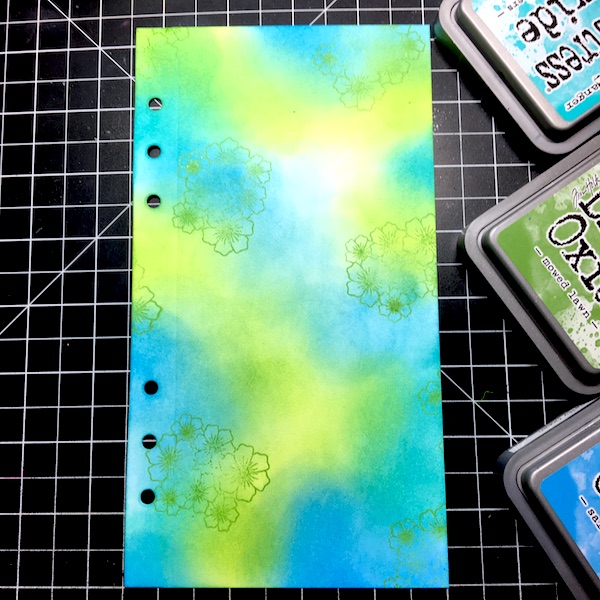 I blended the background in with the inks and my blending brush. I also stamped out some flowers from the Patterns 1 stamp set.
 I added a simple sentiment from the My Life stamp set and a die cut heart from the Planner Essentials 5 die set in Soft Sky Soft Finish Cardstock.
 I did a little stamping in salty ocean using the octagon from the Retro Labels stamp set. I added a focal element using two dies cuts from the Planner Labels die set in both Soft Sky and Spring Green Soft Finish Cardstock.
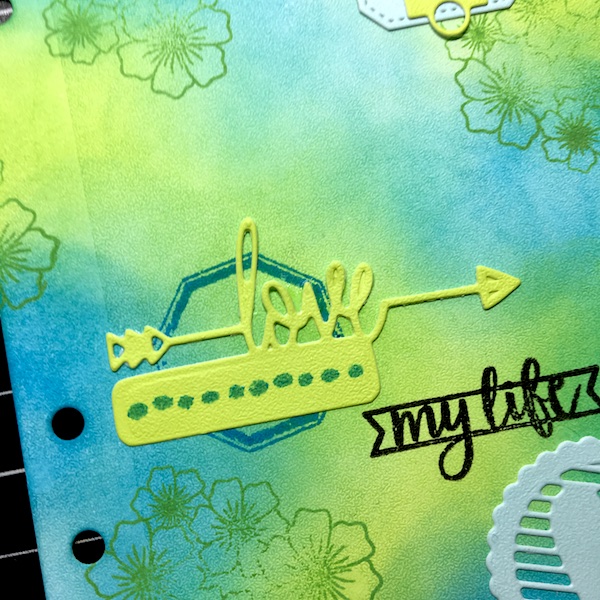 I added one more die cut in Spring Green from the Planner Essentials 5 with a little stamping in Peacock Feathers from the My Life stamp set.
 I finished the cover page off with some alphabet die cuts from the Blackboard Alphabet die set in True Blue Soft Finish Cardstock.
Planner Insert
 Every month I create a insert that I can move from week to week. This insert lets me see at a glance what I’ve got to get do on each day of the month. I die cut out the tag insert from the Planner Essentials 7 dies set and stamp out the line items from the Bullet Journaling 3 stamp set. I colored the insert page with the same colors of ink as I did from the cover page.
First week
 The first week of June was created to look a lot like the cover page, using the same three colors in distress ink using a die cut page from the Planner Essentials 5 die set.
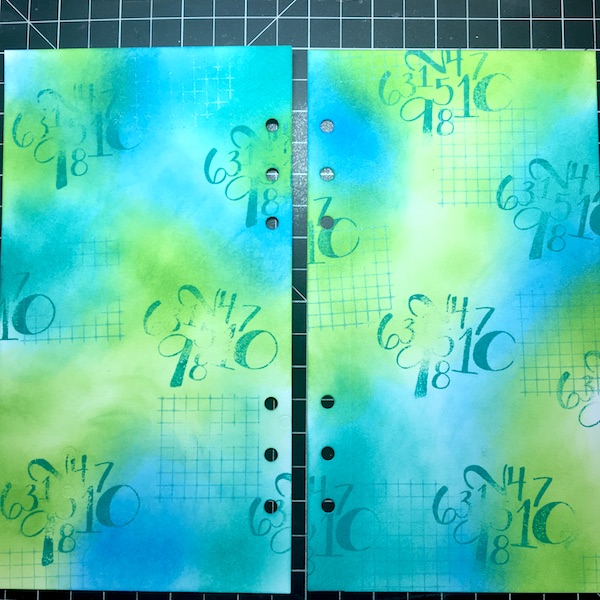 I blended the ink in a similar way that I did in the cover page. I then stamped out the grid stamp from the Patterns 1 stamp set. I also stamped out the numbers from the same set but in Peacock Feathers this time.
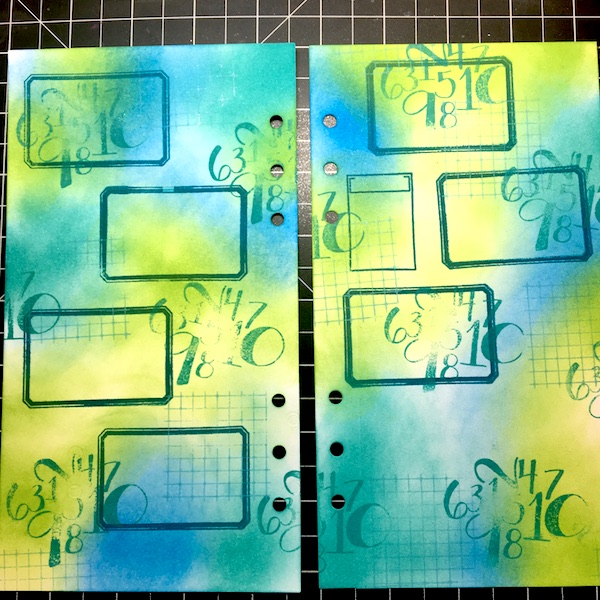 I stamped out the spaces for the weeks using the Retro Labels stamp set along with my announcement bar from the My Life stamp set.
 I added the days of the week and the date using the My Life stamp set for the specialty boxes and Schedule stamp set for the days of the week.
 I added one last stamp from the Bullet Journaling 3 stamp set and a sentiment from the Retro Labels Sayings.

Week 2
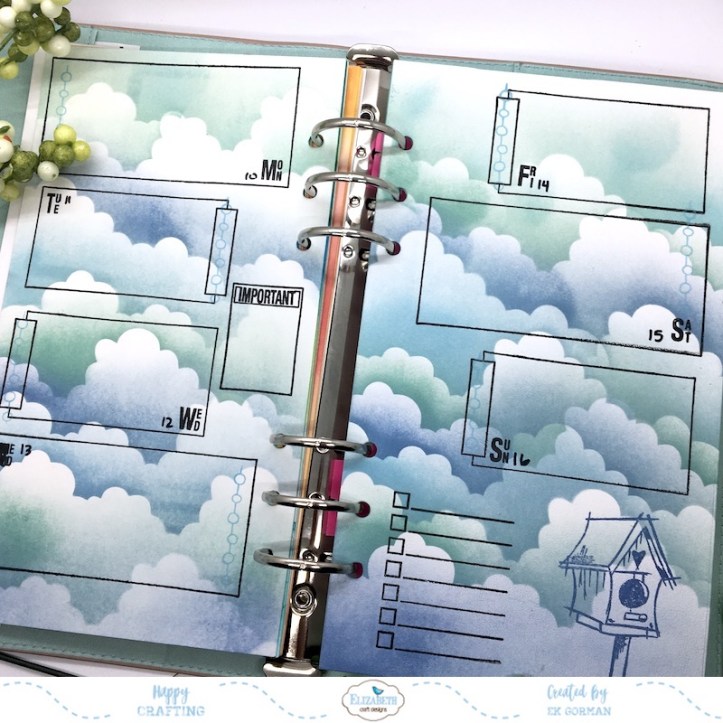 For week two I did a little stenciling using some distress oxides. The colors I picked out were Tumbled Glass, Faded Jeans, and Evergreen Bough.
 To create the stunning cloud background, I pulled out my favorite ECD stencil, the Earth & Sky stamp set.
 I stamped out my days of the week from both the My Life stamp set and the Scheduling stamp set.
 I added some stamping details in tumbled glass using the Schedule stamp set. I also added the Birdhouse from the Pure Spring stamp set in Faded Jeans.
Week Three
 I used one of my personal stencils to create this week as well as Blueprint Sketch, Broken China, and Lucky Charm distress ink. I used the Planner Essentials 2 die set to die cut the second page of the week’s layout and love the tab feature on the page.
 I used the same stamps to create the page layout as I did in week 2. The My Life, Bullet Journaling 3, and Scheduling stamp sets are really perfect to create these layouts.
Yes, I forgot to snap photos of the forth week of June. I would snap photos now, but my life is already inked into the pages, and frankly, would love to keep my busy life private. The page however looks a lot like the last one with how I stamped out the weeks, and the color is just blended on like it was for the first week.
Let me know in the comments below which of the projects from this month is your favorite. Until then, Happy Crafting.