 Yes, you read that correctly. I’ve succumb to planning…or at least planner-ing.
No, using a planner is not new for me, however, creating a planner for my exact needs is. For years I have used a physical player, but I just go to the store and buy some over priced one that really doesn’t do what I need it to do.
Last January when I went to get my yearly refill, I realized needed more space than what I normally got. So bought a really big journal planner, which come to find out was way too big, and really had to much space but still not what I actually needed.
Now I had gotten some of the new stamps that came out with the new Planner line because frankly, they are awesome stamps, but for mother’s day, I decided what I wanted most of all was a planner that would actually meet my needs.
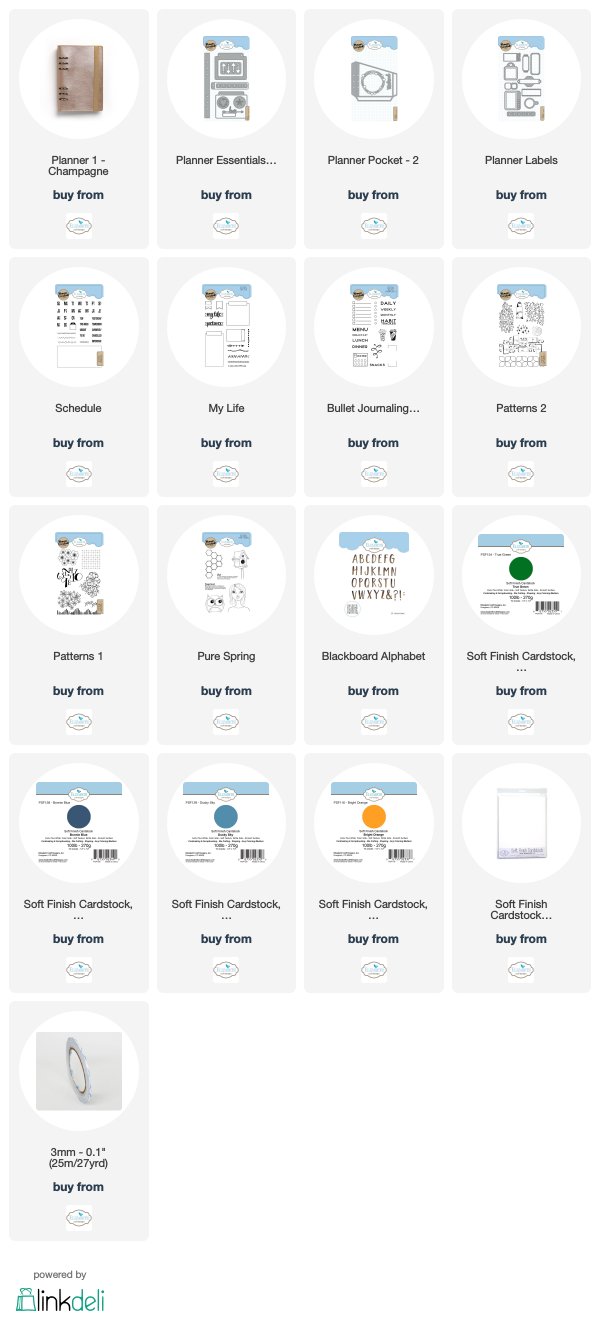
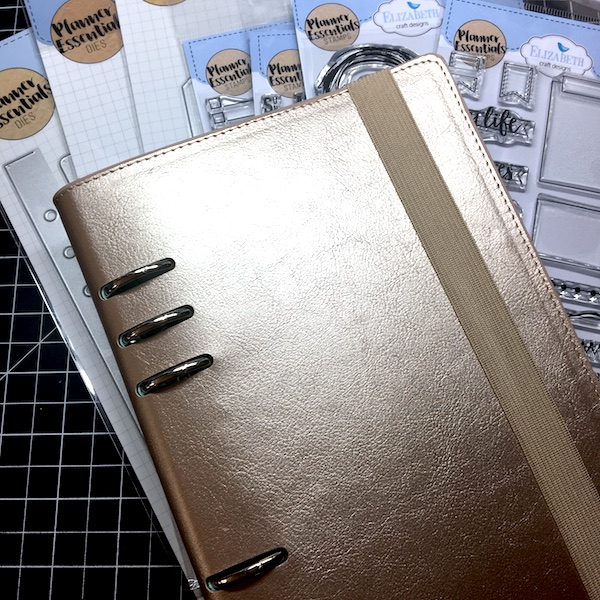
 I decided to purchase the Champagne Planner, mainly because I like the classic metallic look on the outside, but the pop of blue color on the inside.
 I started by creating a cover page using the Planner Essentials 5 dies and the Planner Pocket-2 die set along with some True Green Soft Finish Cardstock. The pocked is super easy to create especially with the super adhesive 3mm Double Side Adhesive.
 To finish off the cover page, I stamped out some images from the Bullet Journaling 3 stamp set.
 I then started creating my May pages but die cutting a bunch of pages using the Planner Essentials-5 dies and 90lb White Soft Finish Cardstock and trimming the whole page to 4.75 inches.
I then blended some Distress Oxides through a stencil onto the cardstock and stamped more images from the Patterns 2 stamp set, the Pure Spring stamp set, and the My Life stamp set.
 I finished off page with some die cut images from the Planner Labels die set in Soft Finish Cardstock in both Bonnie Blue and Bright Orange. I then die cut the word May from some Dusky Sky Soft Finish Cardstock and Blackboard Alphabet dies.
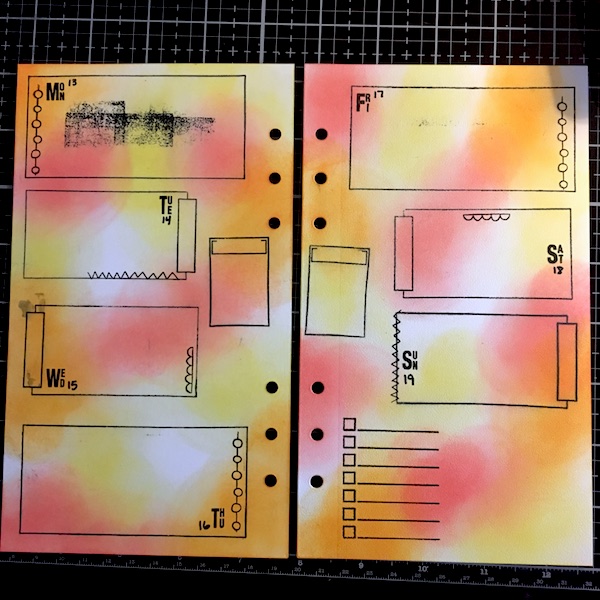 I created my first layout, mistakes and all using the Schedule stamp set, the My Life stamp set and the Bullet Journaling 3 stamp set.
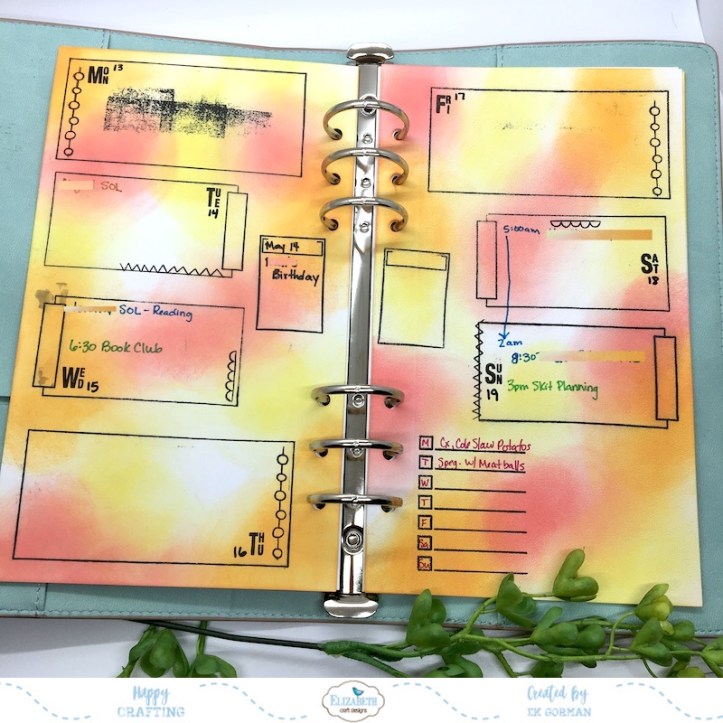 I created color on the double page using distress oxides blended onto the page.
 I created another week’s worth of days using the same three stamp sets as the week before, but had fewer mistakes since I free handed the stamping here instead of using a stamping platform.
 I used a lighter collection of distressed oxides to color this page, but also stamped some background images from the Patterns 1 stamp set.
This is where I’ve started but will be adding more pages to fulfill all my planner needs. Let me know if you want to see more of what I created in the comments below. Until then, happy crafting.