Yep…we have snow on the horizon once again, so I thought I would beat winter back myself with a few of my own hand crafted spring tree blossoms. Anyone else feeling the need to see the blossoms of spring? I hope today’s project at least gives you a little bit of hope of the spring to come.
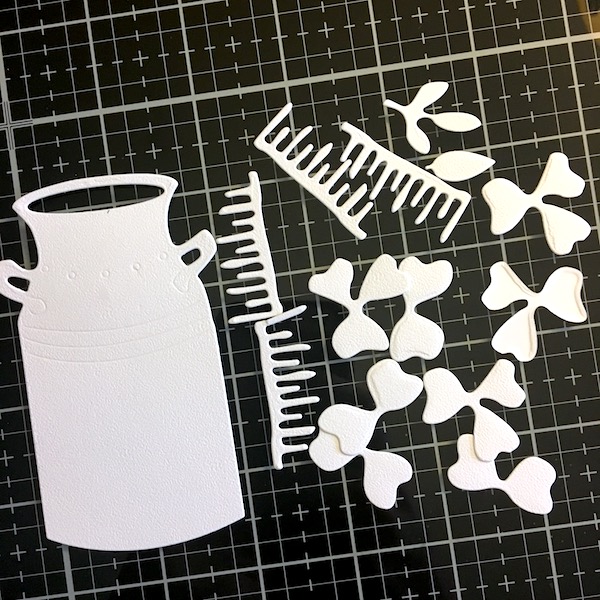 Step One: Die cut both the Garden Notes- Flowering Trees of Spring die set and the Garden Notes- Vintage Tin Milk Can out of 100lb White Soft Finish Cardstock.
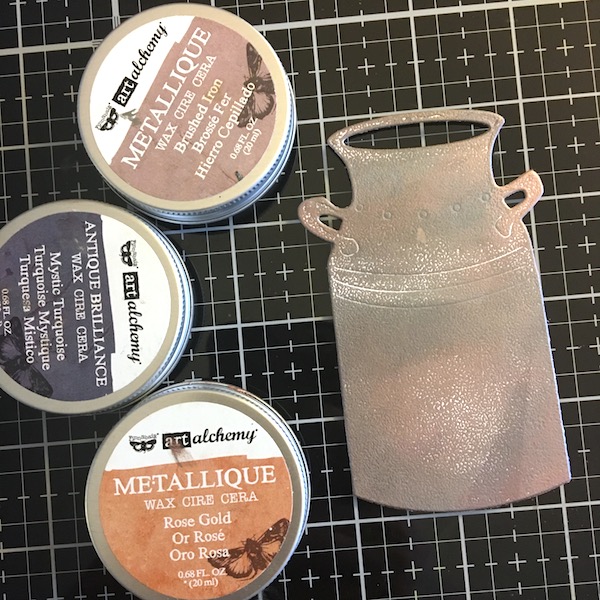 Step Two: Color the Tin Milk Can with some wax. I used Prima’s Brushed Iron, Rose Gold and Mystic Turquoise to color my can.
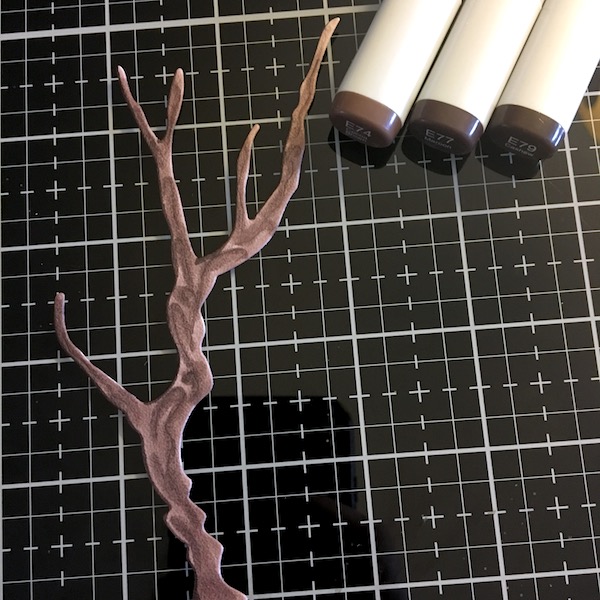 Step Three: Using copic markers color the Flower Trees of Spring dies cuts. I used E74, E77, and E79 for the tree branch.
 The flower petals were colored with RV000, RV00, RV02 and RV04.
 The center of the flower was colored with YG00, YG23 and C7 for the tips. I colored both sides of this die cut. After coloring the first four flowers, I realized that I was going to need an entire another set, so I repeat the last two steps so I could have eight flower blossoms.
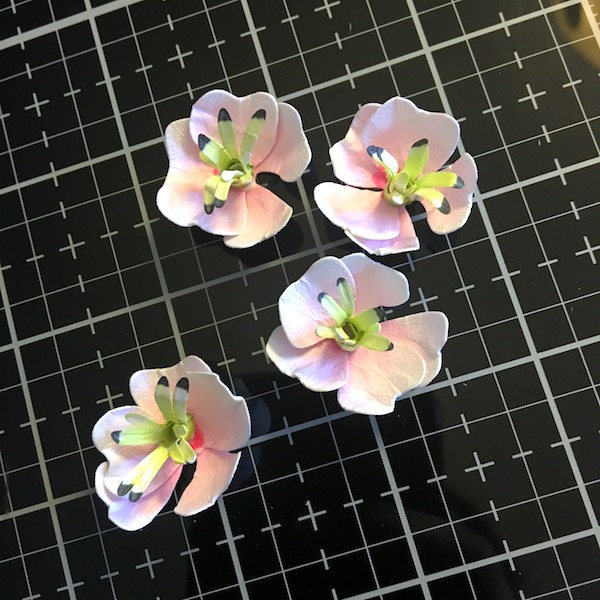 Step Four: Using the Susan’s Garden metal tool set and the Molding Pad, shape the flower petals and centers and adhere them together using Kids Choice Glue.
 Step Five: Trim a piece of Dusky Lavender Soft Finish Cardstock to 6×12 inches and then score and fold at the 6 inch mark to make a 6×6 card frame. Die cut a floral frame with the Garden Notes Grapevine Wreath Square out of Rust Soft Finish Cardstock.
Step Six: Color the wreath frame with copics to add depth and dimension. I used E74, E77, and E79. Trim the wreath at two opposing corners to create two pieces, each with a right angle.
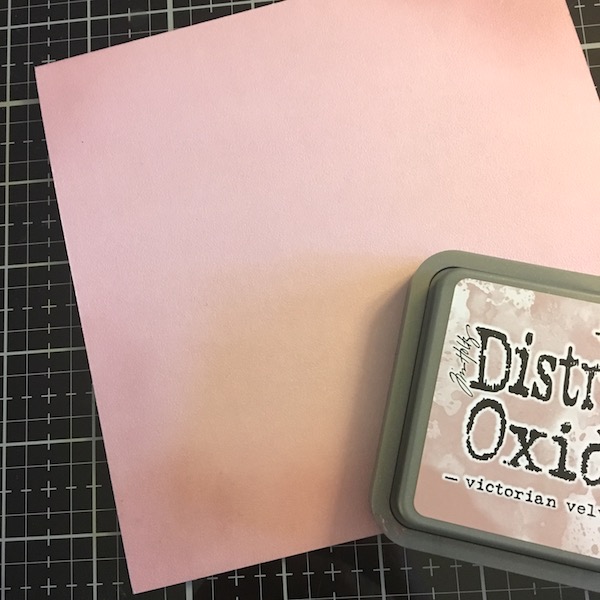 Step Seven: To break up the background of the 6×6 card frame distress some Victorian Velvet Distress Oxide onto the corners.

Step Eight: Using Kids Choice Glue adhere the frame to the corner of the card frame. Then adhere the milk tin to the card using some 3mm Clear Double Sided Adhesive. using Kid’s Choice glue adhere the tree branch and blossoms to the card frame.
 Step Nine: Die cut the new My Garden Flowers script die from some 100lb White Soft Finish Cardstock. Adhere to the card frame.
 Step Ten: Add some flower buds to the frame using some Nuvo Vintage Drops in Dusty Rose.
 I just love how Susan’s flowers, when shaped look so realistic. These little petals seem much harder to make than they actually are.
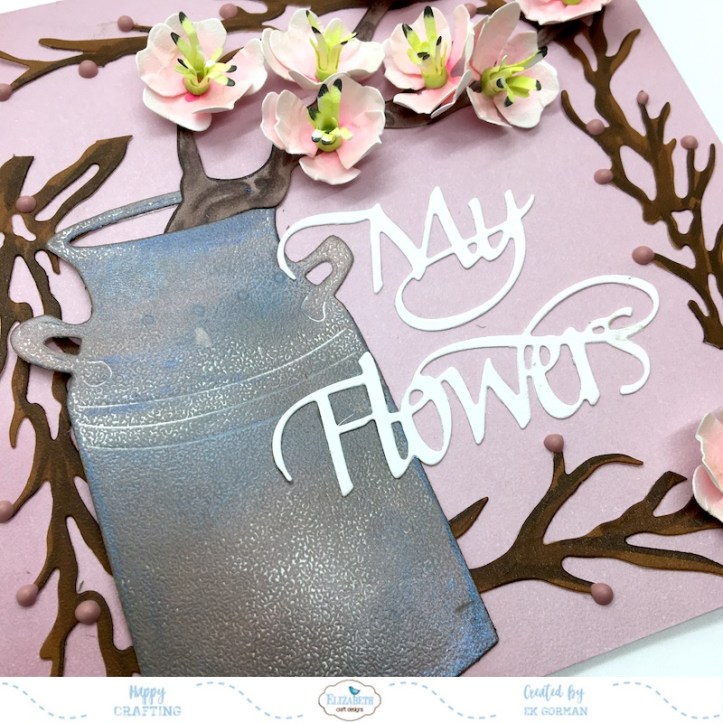 And I adore how the new script die from Suzanne pairs so nicely with the Garden Notes flowers.
 Despite the snow in the forecast, here is my hope for spring. I hope your weather is warm, and the end to grey skies and slush is coming to an end. Until then, happy crafting.