It’s that time of Month again for the Designer Challenge over at Elizabeth Craft Designs. And over at the ECD Blog the Design Team is making a start on Christmas cards using the new Joset Designs Character dies that were released this month.
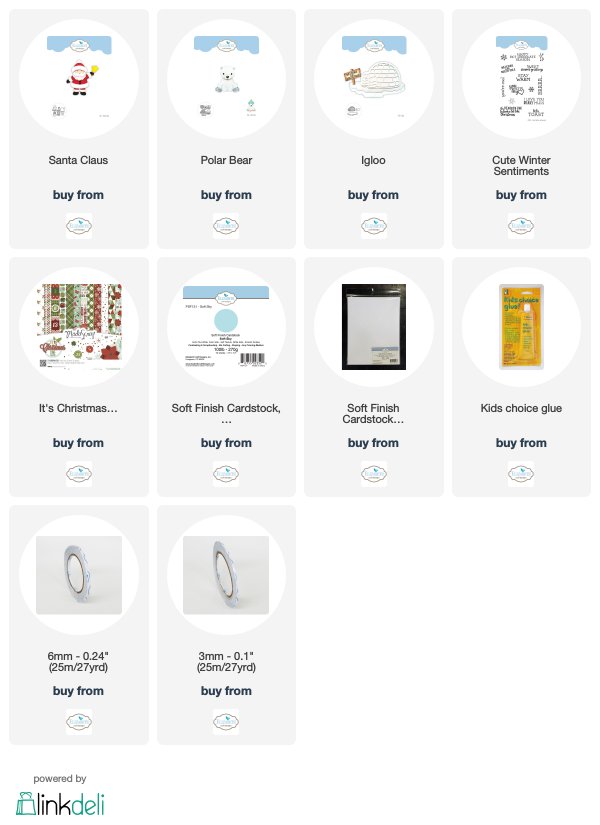
 I pulled out two of the new character dies to create this fun holiday card.
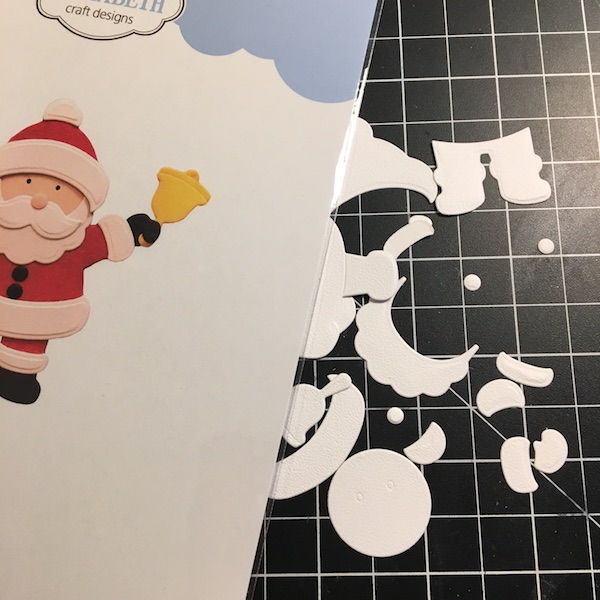 Step One: Die Cut all the Santa Claus die pieces out of 85lb White Soft Finish Cardstock.
 Step Two: Color all the die cut bits with your alcohol markers. I used my copics. The reds were colored with R24, R27, R36 and R89. The Black was W5, W6, and W7. The Gold was colored with Y21, Y26, Y28. The skin tone was colored with E50, BV00, E21. And the White was colored with colorless Blender, B60, and B63.
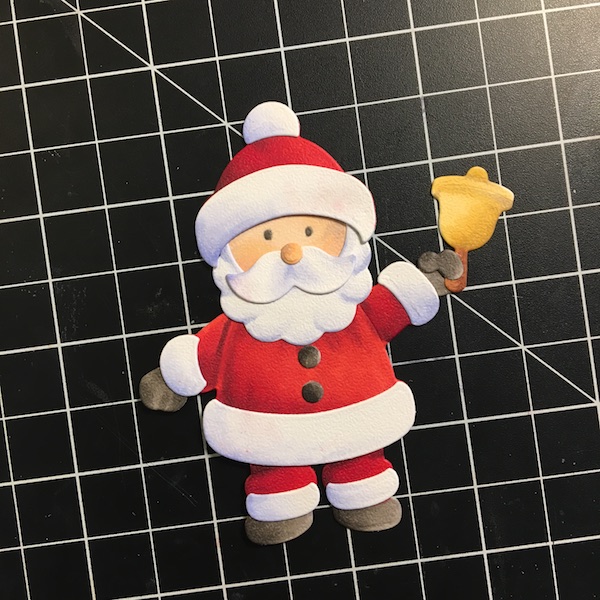 Step Three: Using Kids Choice Glue, assemble the character.
 Step Four: Repeat steps 1, 2, and 3 with the Polar Bear die set. The white was colored with colorless blender, B60, and B63. The pink was colored with R20, R22, and R24. The green was colored with YG09, G19 and G29.
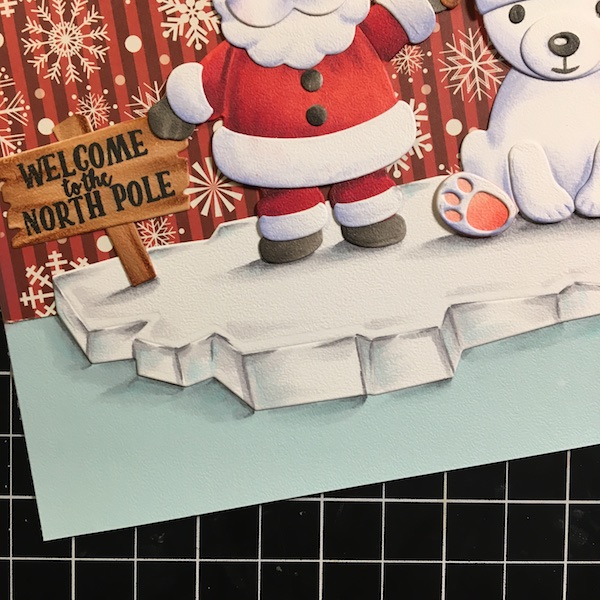
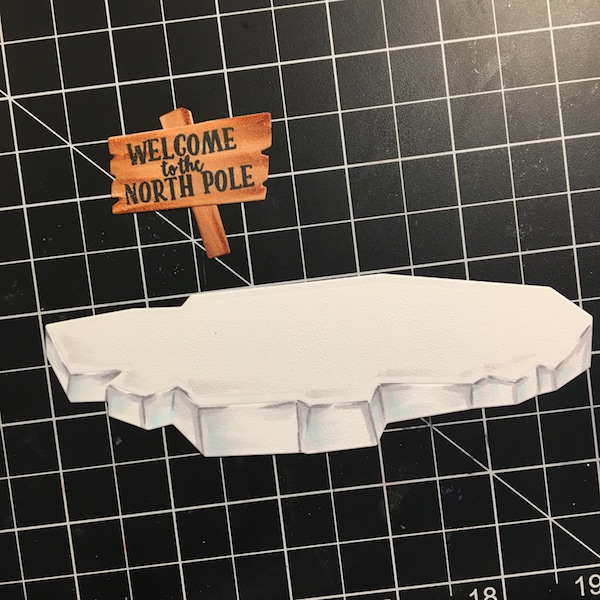 Step Five: Die cut the iceberg and sign from the Igloo die set. Color the iceberg with N0, N2, N4 and B000. Color the sign post with E31, E33, and E35. Assemble the sign pieces with Kids Choice Glue.
Step Six. Stamp the sentiment on the the sign using the the new Cute Winter Sentiments stamp set using black ink. I used Versa Fine.
 Step Seven: Cut a piece of Soft Sky Soft Finish Cardstock to 6×12 inches and score and fold the card to make it a 6×6 card frame. Trim a piece of It’s Christmas printed paper to 6×6 inches. Adhere the Christmas paper to the card frame, leaving a one and half inch gap at the bottom using 6mm Clear Double Sided Adhesive.
 Step Eight: Distress the edges of the printed paper with Aged Mahogany Distress Oxide.
 Step Nine: Adhered the iceberg and characters to the card frame using 3mm clear double sided adhesive.
Step Ten: Add shadows under the iceberg using alcohol markers. I used N0, N2, N4 copics.
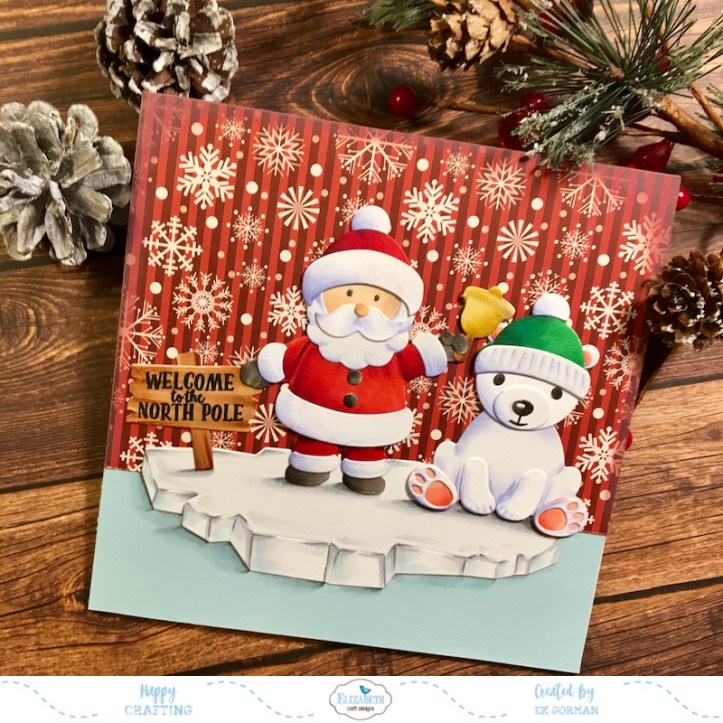 I hope you enjoyed seeing my holiday character card today.
 Make sure you pop over to the ECD Blog today, check out all the Design Team Members fun and quirky projects using the new Character Dies. And don’t forget to answer this month’s question for a chance to win a ECD gift card. The question this month is: What of the characters from the new Joset Designs collection is your favorite?