 I know I got to make the announcement at the end of last month, but it feels like it has been forever since I got to announce that I now will be working with Hone Bee Stamps on their Social Media Design Team.
Today, I finally get to show my first design featuring the Honey Bee line!!! It is sort of a big day all around, because today is finally the day that the moving vans unload  our home goods at our new home. Seems like a perfect way to start the new chapter!
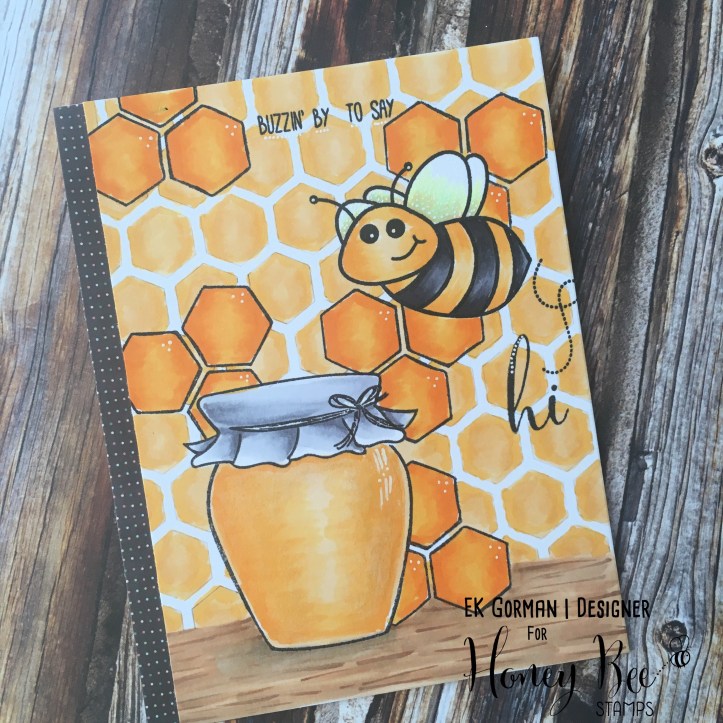
 Since, the die cutting machine is still packed away somewhere in a box, I decided to go with a card layered with images and doused in copic marker. I pulled out what (to me) feels like two of the trade mark stamp sets from the Honey Bee Stamps line, Sweet As Honey and Build a Bee.
  Using some masking tape, I layered several stamps over each other to build the scene.
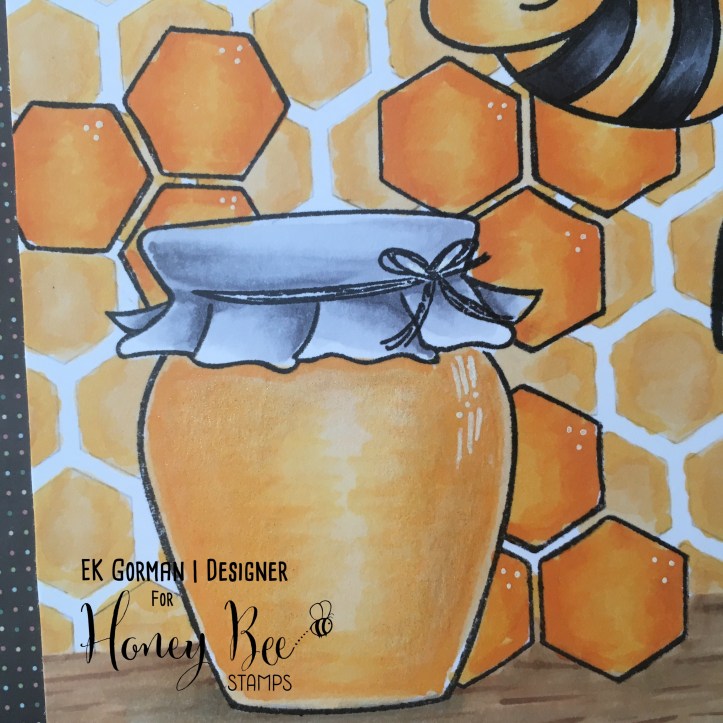
I went ahead, using my copics (E11, E13, E15, E17) to color in the table that the jar is sitting upon. If felt it was important to build the table, knowing what my next step was going to be.
 I pulled out the Honey Bee Hexagon Layering Background Stencils Set, and pulled out the one with the largest hexagons. I taped the stencil (and cardstock) down onto my desk, and proceeded to trace each of the hexagons lightly with my pencil. This left behind the background for my design.
This is where the heavy coloring came in. For the penciled hexagons, I used Y32, Y21, and Y35. The honey pot was colored using Y21, Y35, and Y38 with N0, N2, and N4 used to color in the cloth over the jar. I used the yellow combination for the bee’s yellow bits, and C-5, C-7, C-9 and a touch of 100. His wings (is it a he? My son says worker bees are female…?) were colored in with Y00, Y21 and a touch of B000. Finally, the stamped hexagons were colored in use YR04 on the edges then fading in with Y38, Y35, and Y21.
I pulled out my favorite white gel pen and started adding details to the card. A couple of dots in the top right corner of each stamped hexagon, some dots along the wings, a few dots in the ‘H’ curve, and some highlights on the jar. I trimmed down the card just a little bit, and added a touch of printed paper to the side, just to help pop the bits of black in the card.