
 Hey Friends! Did you see that Elizabeth Craft Designs has a whole blog post today sharing different summer themed projects! I have joined in with a unique look at summer.
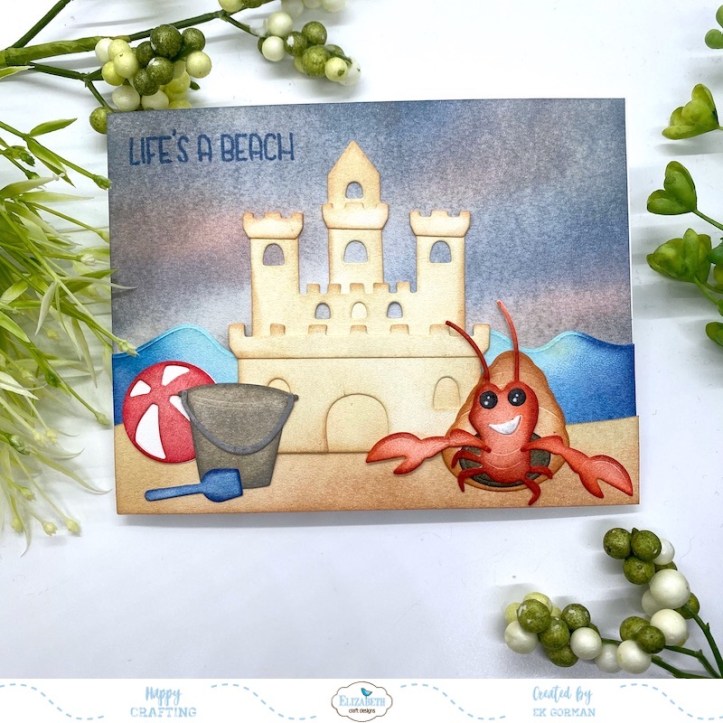
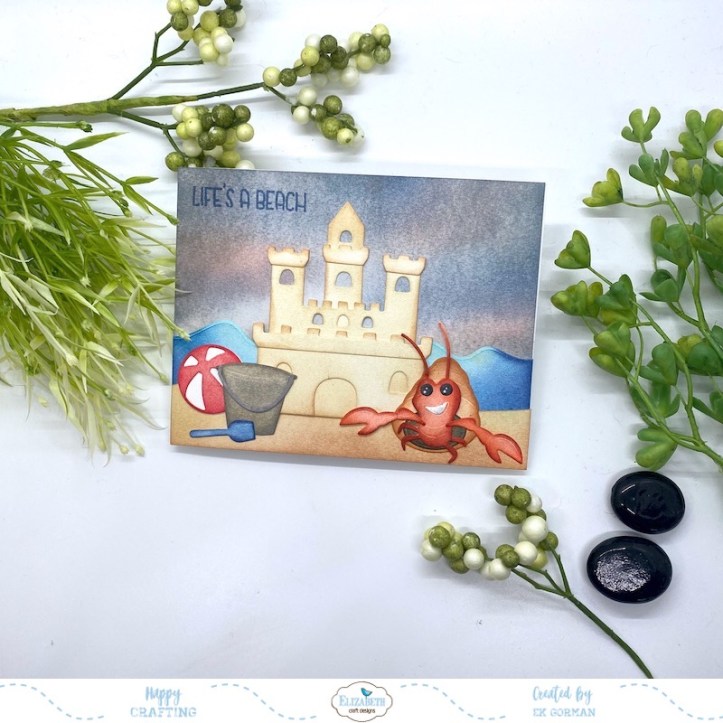
I know most people think of bright suns and clear skies when they think of summer, but for me, one of my favorite summer things is stormy summer beach with high waves and gorgeous grey skies. These storms always seem to break the wave of heat and clean the world. So today I am creating this scene using Joset’s new Seashells die set with the older Sand Castle die set.
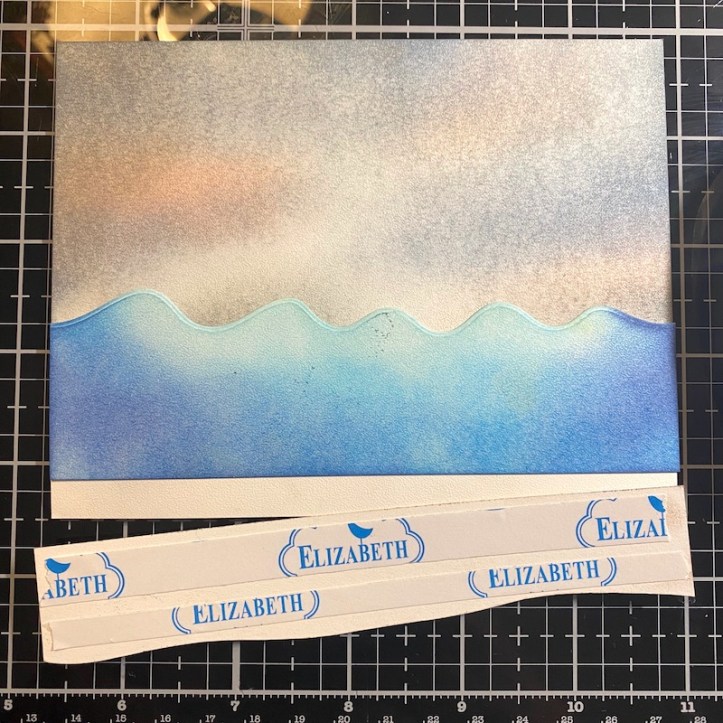
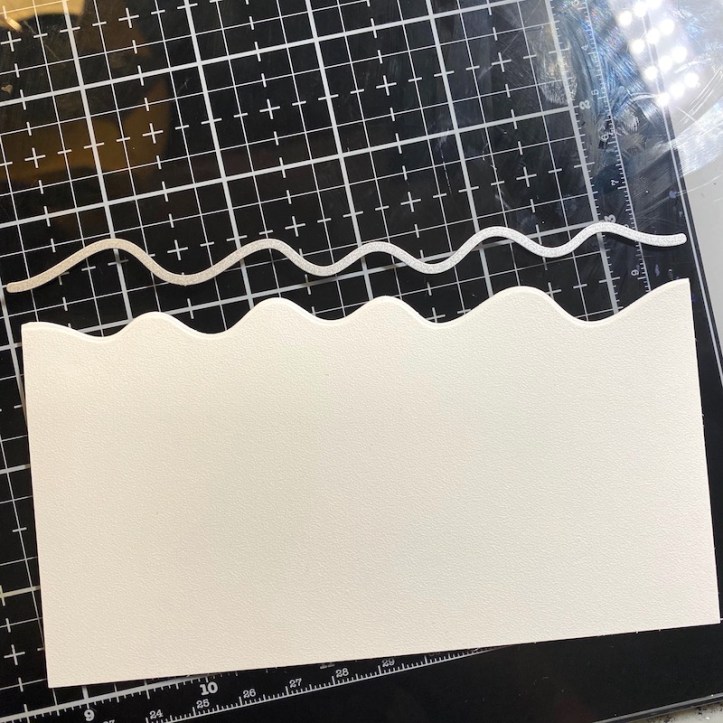 Step One: Die cut a piece of 90lb Soft Finish Cardstock with one of the waves from the Ocean Edges die set. Hand trim a second piece of cardstock to represent the sand.
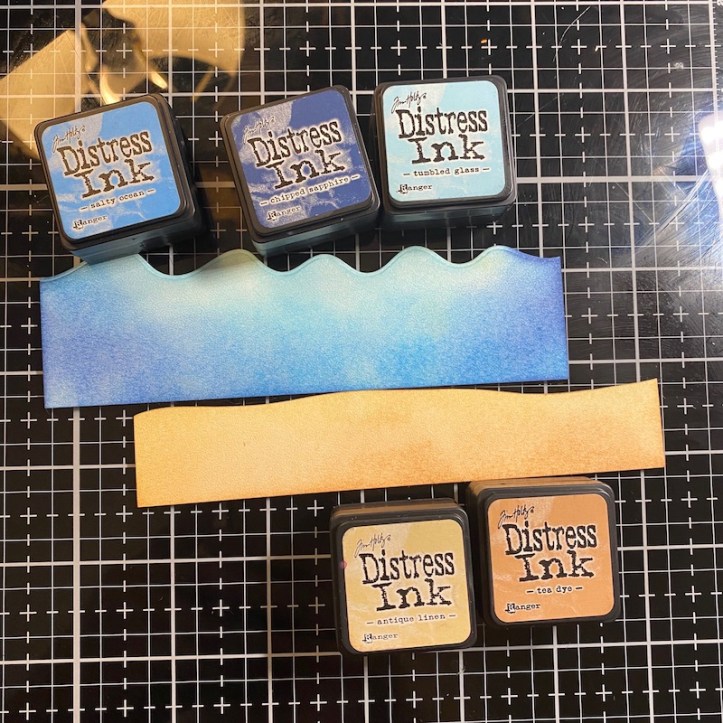 Step Two: Using Distress Inks, color both the sand and ocean waves. Use the lighter color all over and the darker along the edges. I used Antique Linen and Tea Dye for the sand and Tumbled Glass, Salty Ocean, and Chipped Sapphire for the waves.
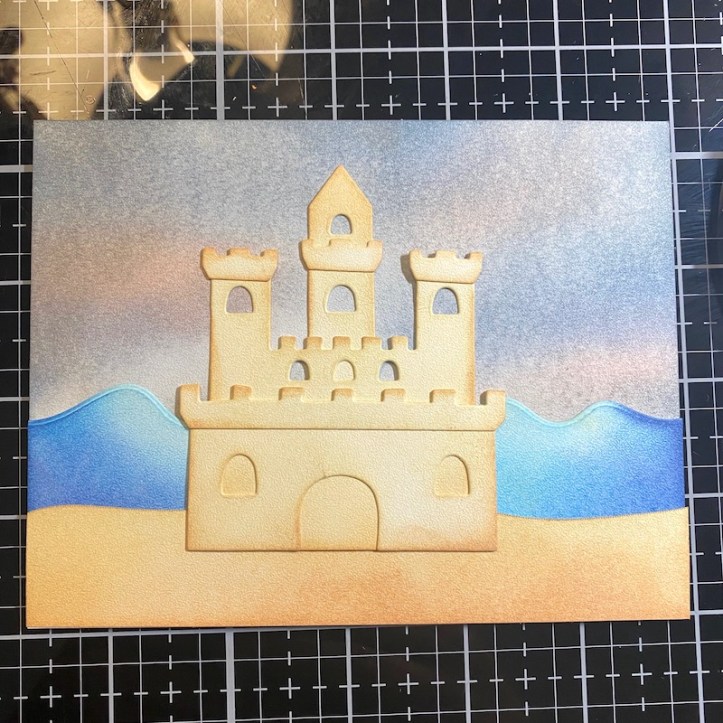
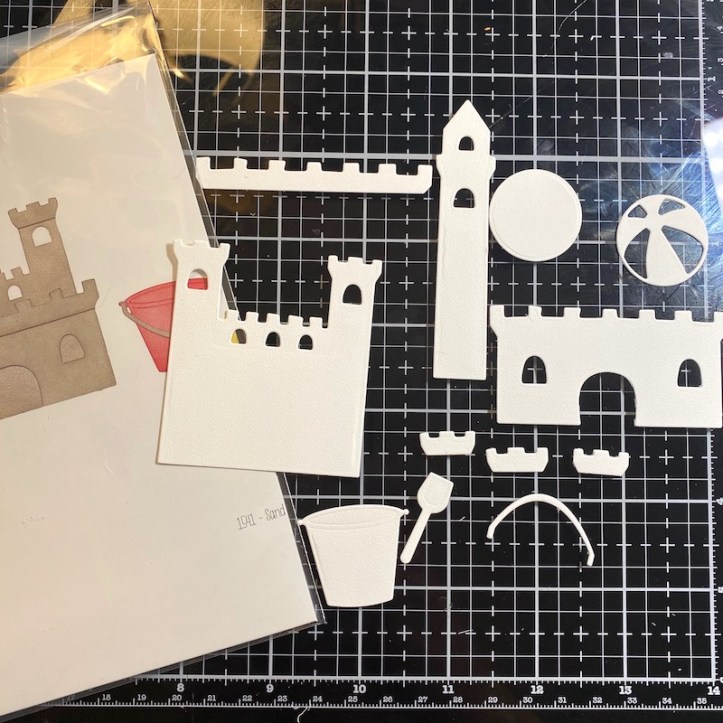 Step Three: Using 90lb Soft Finish Cardstock, die cut the Sandcastle die set.
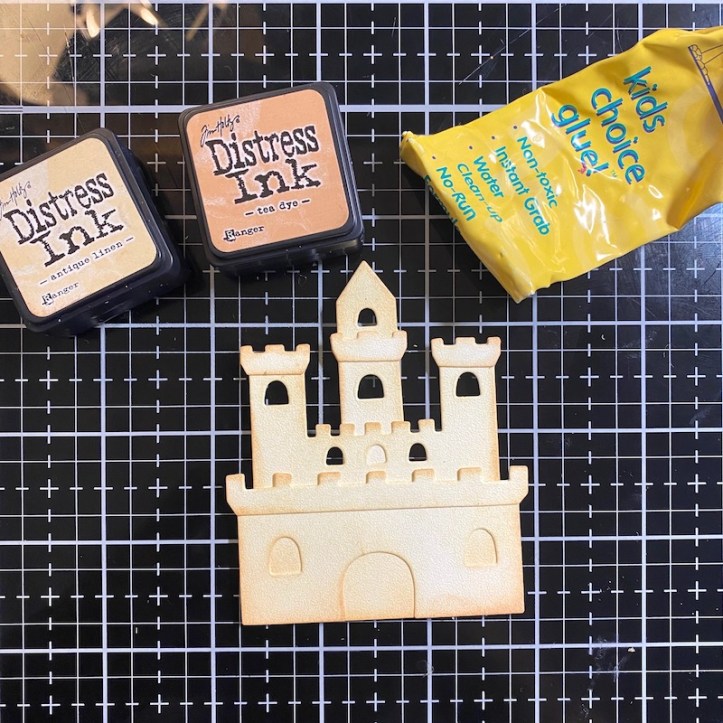 Step Four: Using Distress Ink, color the pieces of the Sand Castle. I used the same colors as the sand, Antique Linen and Tea Dye. Using Kids Choice Glue, adhere the sand castle pieces together.
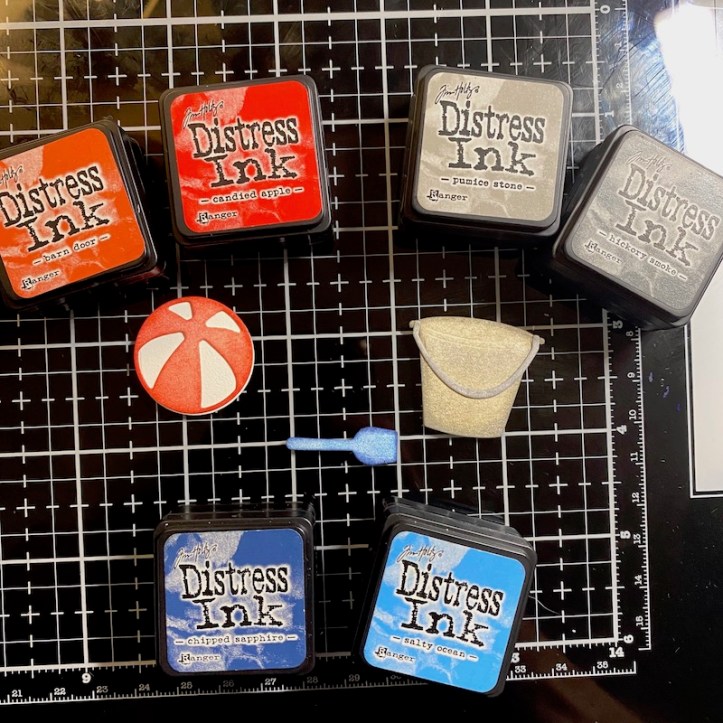 Step Five: Color and assembled the Sand Castle die set asscories. I used Barn Door and Candied Apple for the beach ball, Pumice Stone and Hickory Smoke for the pail, and Salty Ocean and Chipped Sapphire for the shovel.
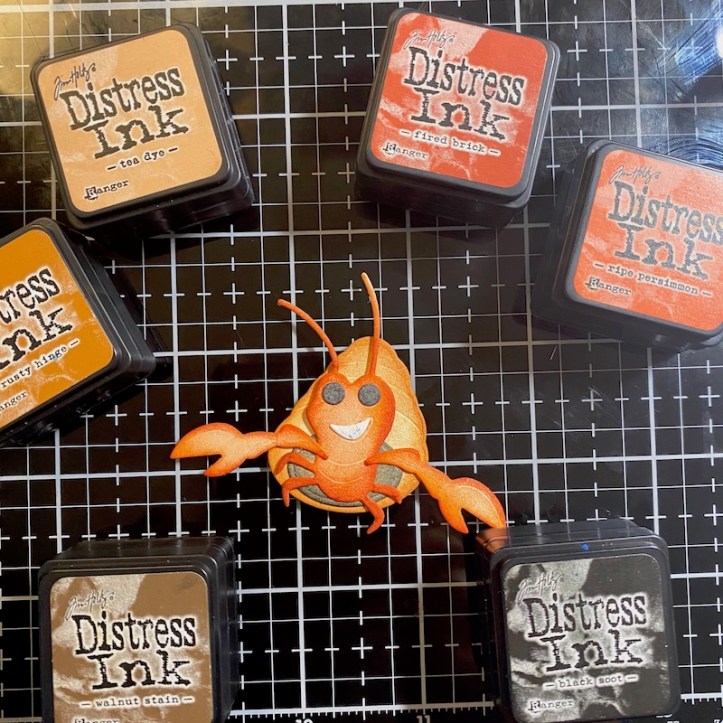 Step Six: Die cut, color and assemble the pieces of the crab from the Seashells die set. I used Ripe Persimmon and Fired Brick for the crab’s body, Tea Dye and Rusty Hinge for the crabs shell, and Walnut Stain and Black Soot for the crab’s eyes and opening.
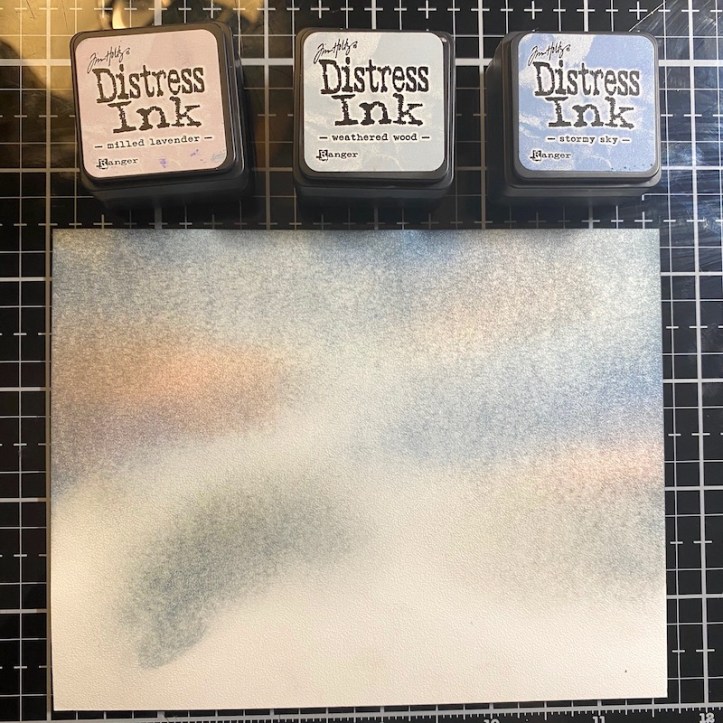 Step Seven: Trim a piece of 90lb Soft Finish Cardstock to 4.25×5.5 inches. Using Milled Lavender, Weathered Wood and Stormy Sky to create a stormy sky.
 Step Eight: Using both 10mm and 6mm Clear Double Sided Adhesive, adhere the ocean wave and sand to the stormy sky cardstock.
 Step Nine: Adhere the sand castle to the cardstock using 6mm Clear Double Sided Adhesive.
 Step Ten: Adhere the beach ball, pail, shovel and crab to the cardstock using both clear double stick adhesive and kids choice glue.
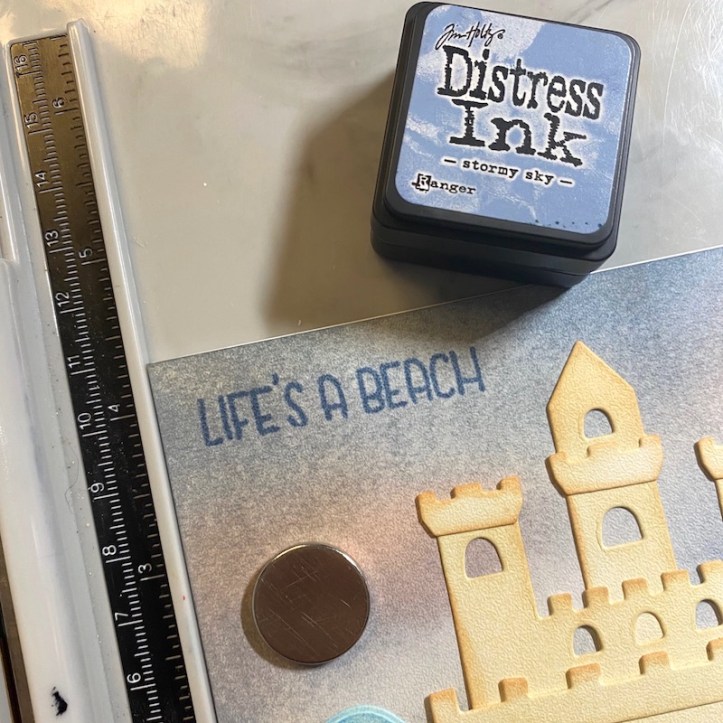 Step Eleven: Stamp a sentiment onto the cardstock using the Beach Sentiments stamp set using a blue ink. I used Stormy Sky Distress Ink.
 Step Twelve: Using 10mm Clear Double Sided Adhesive adhere the cardstock to an A2 card frame.
 Do you like stormy summer skies? Let me know in the comments below! And don’t forget to pop over to the ECD Blog to check out all the summer themed projects. Until then, Happy Crafting.

Great reading yoour blog post
LikeLike